
Last updated on December 22nd, 2023 at 12:07 pm
Originally, I posted back in December 2019 as blog set one How to Setup SSRS to user HTTPS, parts 1 and part 2. Since the original I had a number of questions and clarifications about both posts. So, I thought that I would update the whole set. This first in the set will show you how to request certificate for PBRS or SSRS. To help with the blog, I’m also adding videos to each one within the set. They are always at the end of the blog.
The original blog post was on my list of “things to do” for a while, but it wasn’t until a good friend of mine, Niall Brady, asked me if I had a guide on how to setup SQL Server Reporting Service (SSRS) or Power BI Report Server (PBRS) to use certificates e.g. HTTPS. In this one I cover all of the steps you need in order to request your server certificate (website certificate) for use with SSRS / PBRS and then I show you how to setup SSRS to use the Network Service account. In my second post, I show you how to setup SSRS to use the server certificate for HTTPS, how to test the SSRS website and finally how to clean-up the SSRS site if you get an “OLD” folder. Those where the original blogs, what I didn’t cover was how to remove the HTTP from SSRS/ PBRS.
Remember when we are talking about Microsoft Configuration Managers (MCM), many peoples still call it SCCM or ConfigMgr. In all cases this blog will over it not matter what you call ConfigMgr (official acronym) or SCCM.
What type of Certificate do you need to SSRS / PBRS?
This might seem obvious to many people but judging on the number of emails I received on the subject. It is not always obvious. The answer is a Web Certificate. if you read reading this post you likely have tp requestion this from an internal Certificate Authority (CA). If you don’t have a CA see How To Install AD Certificate Services and How To Configure AD Certificate Server.
How To Request Certificate for to be used by SSRS / PBRS
The overall process is as follows:
- Using Certificate plug in for MMC, request the certificate
- Setup SSRS / PBRS to use the server certificate.
- Test the SSRS website.
- Clean-up.
- Removed Port 80 from SSRS / PBRS
SETUP SSRS TO USE HTTPS PREREQUISITES
In order to put together this step-by-step guide, I created a new virtual machine (VM) memrp2 and then installed SQL Server 2019 (using the SQL 2017 guised and nothing has really changed How to Install SQL Server 2017). Next, I installed SSRS itself (How to Install SQL Server Reporting Services 2017) Long ago, I setup a domain certificate authority in my domain, so you should have the same too. I will make it a ConfigMgr reporting point after I setup the SSL/HTTPS. Now we are at our stating point. From here, I will show you how to setup SSRS to use HTTPS.
request the certificate Using Certificate plug-in
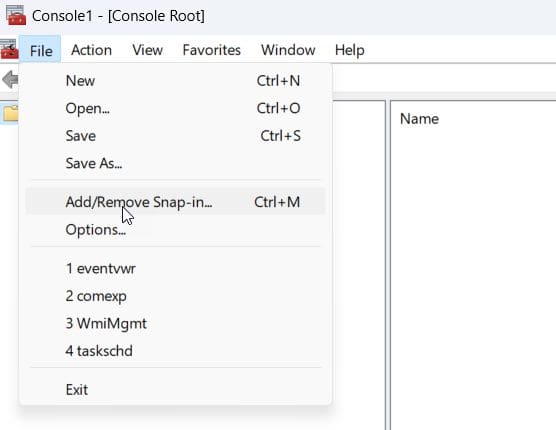
Launch MMC.exe, then from the File menu, select Add/Remove Snap-in…
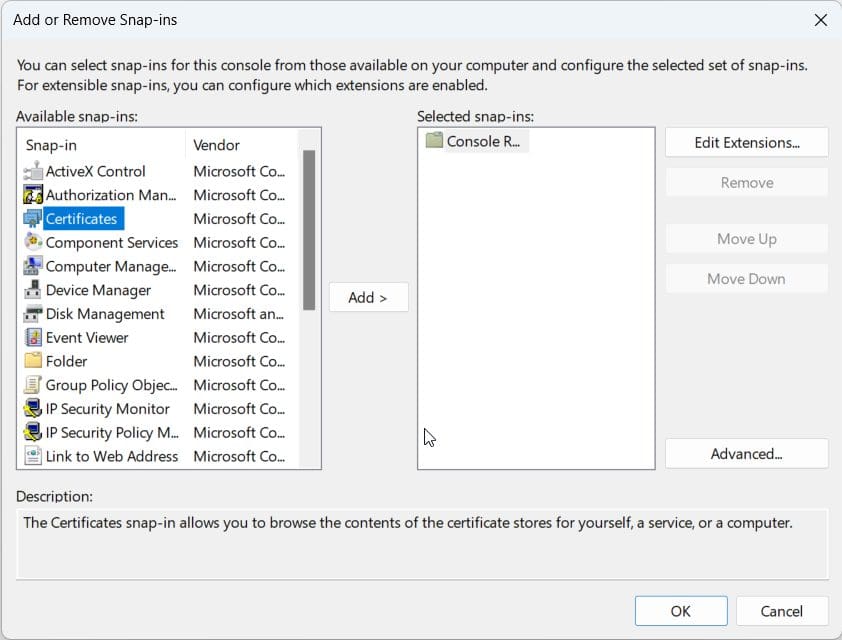
Select Certificates and click Add >
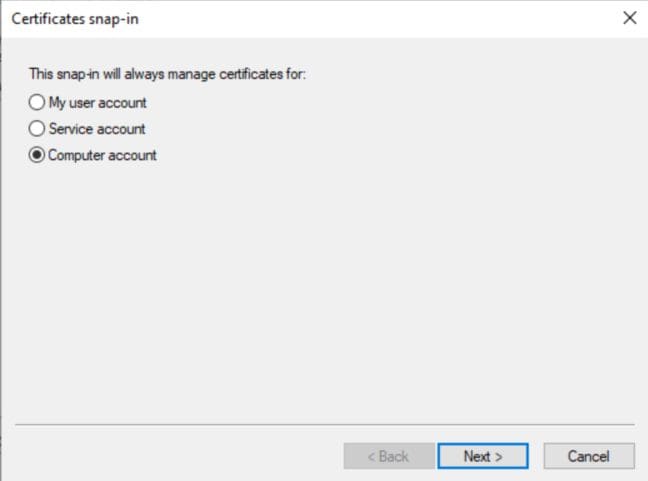
Select Computer Account and click Next.
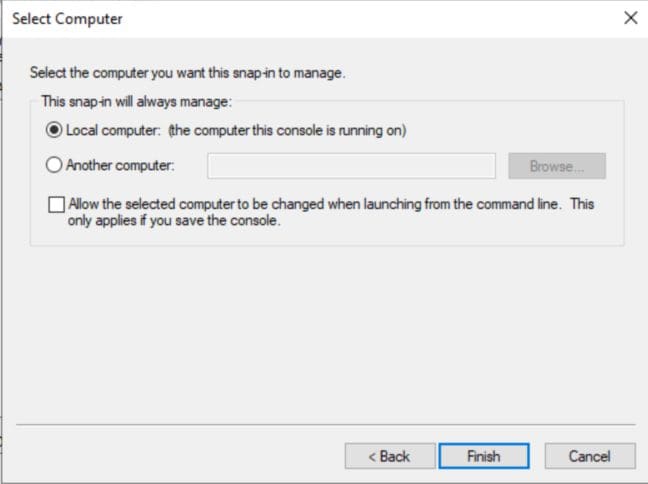
Keep the current computer and click Finish.
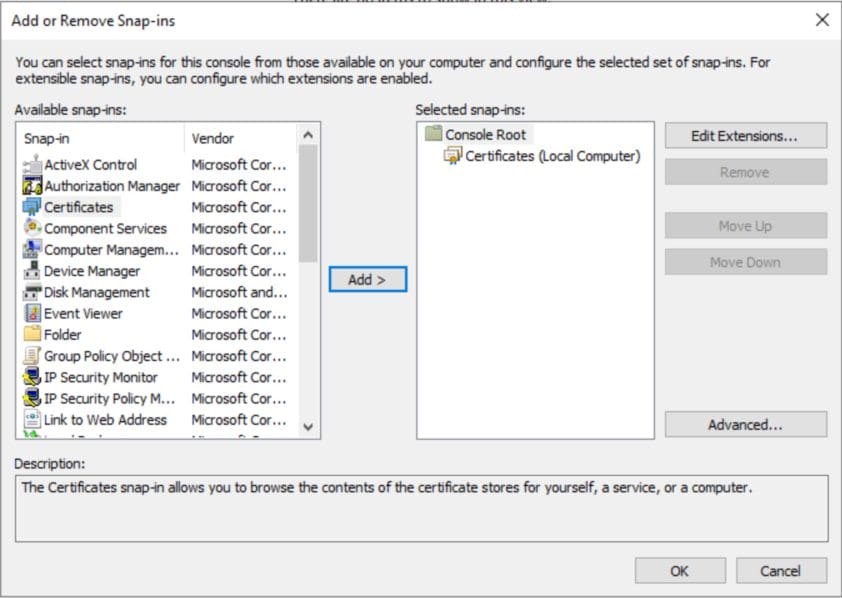 Back in the Add or Remove Snap-ins, click OK.

Expand the Certificates (Local Computer) | Personal | Certificates

Right click Certificate and point to All Tasks and select Request New Certificate…
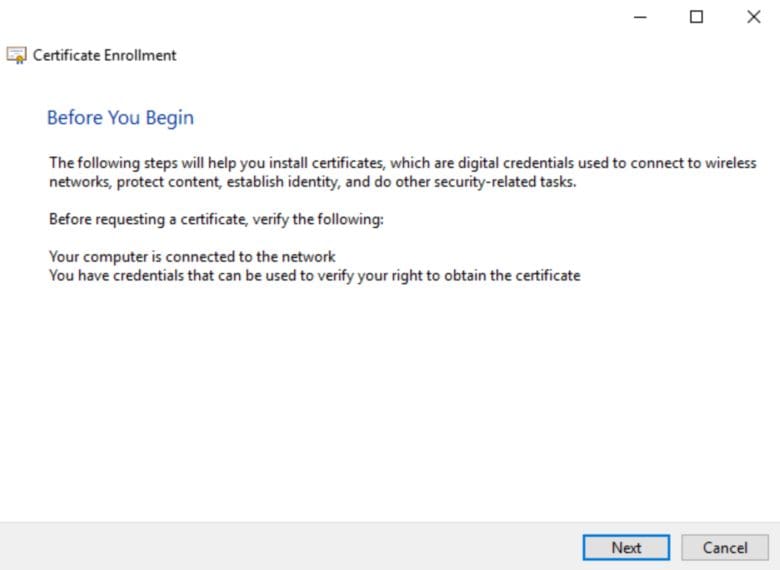
Click Next.
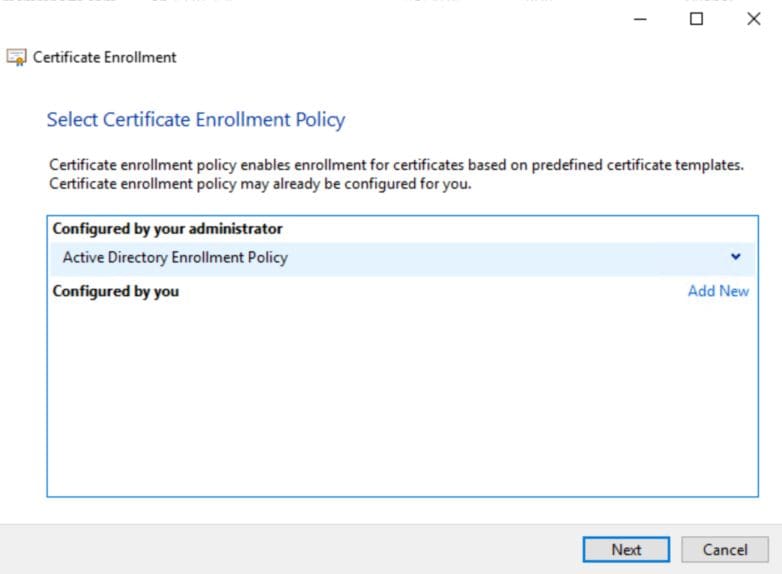
If you setup your CA with web Cert, you should see the Active Directory Enrollment Policy, click Next.
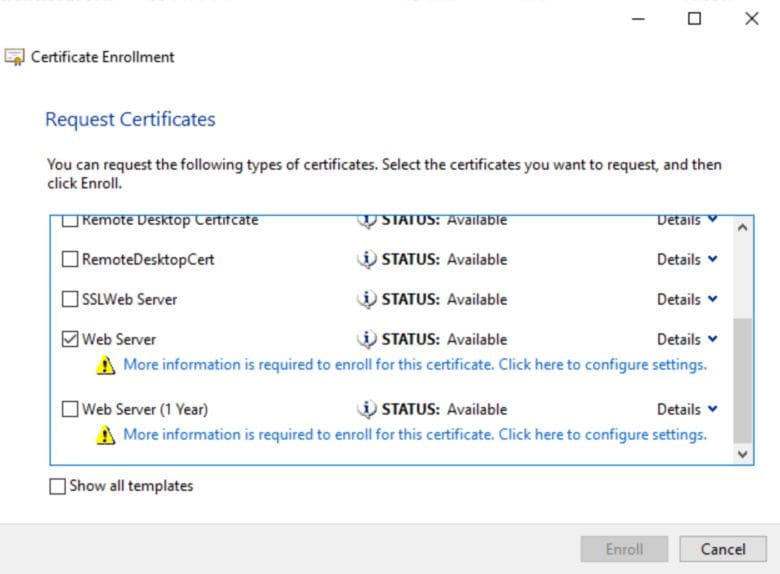
You will see all the available certs within you CA, Find the Web Server template, click the More information is required… link.

On the Subject tab, Change the Subject name Type to Common name, then enter the FQDN of your server in the value text box before clicking Add >. Next in the Alternative name section, Change the type to DNS, in the Value text box again enter the FQDN before clicking Add >. You window should look similar to above, Click OK to continue.
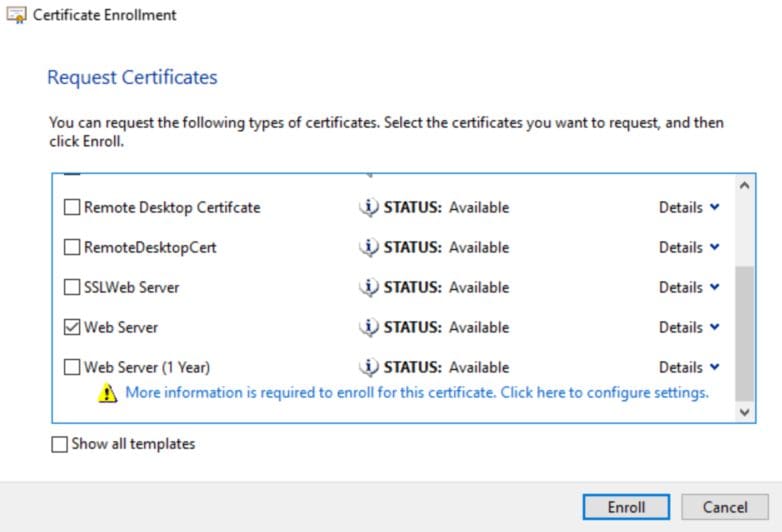
Click Enroll.
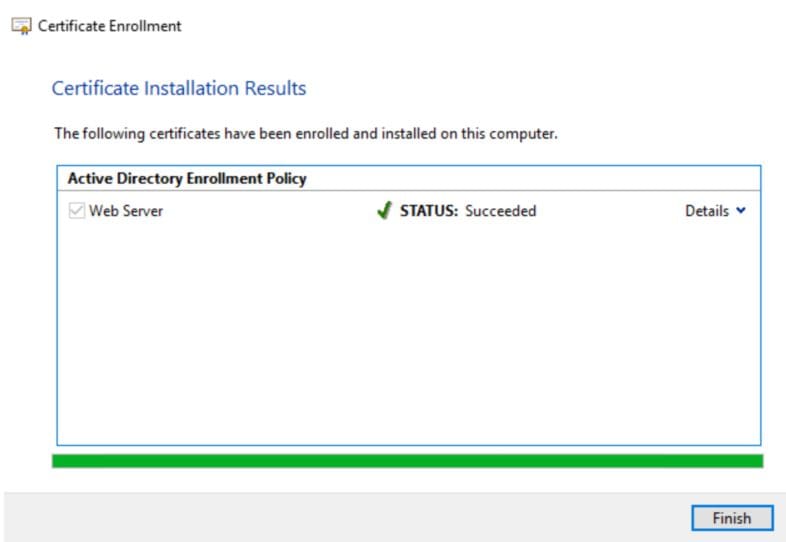
Again, Click Finish.
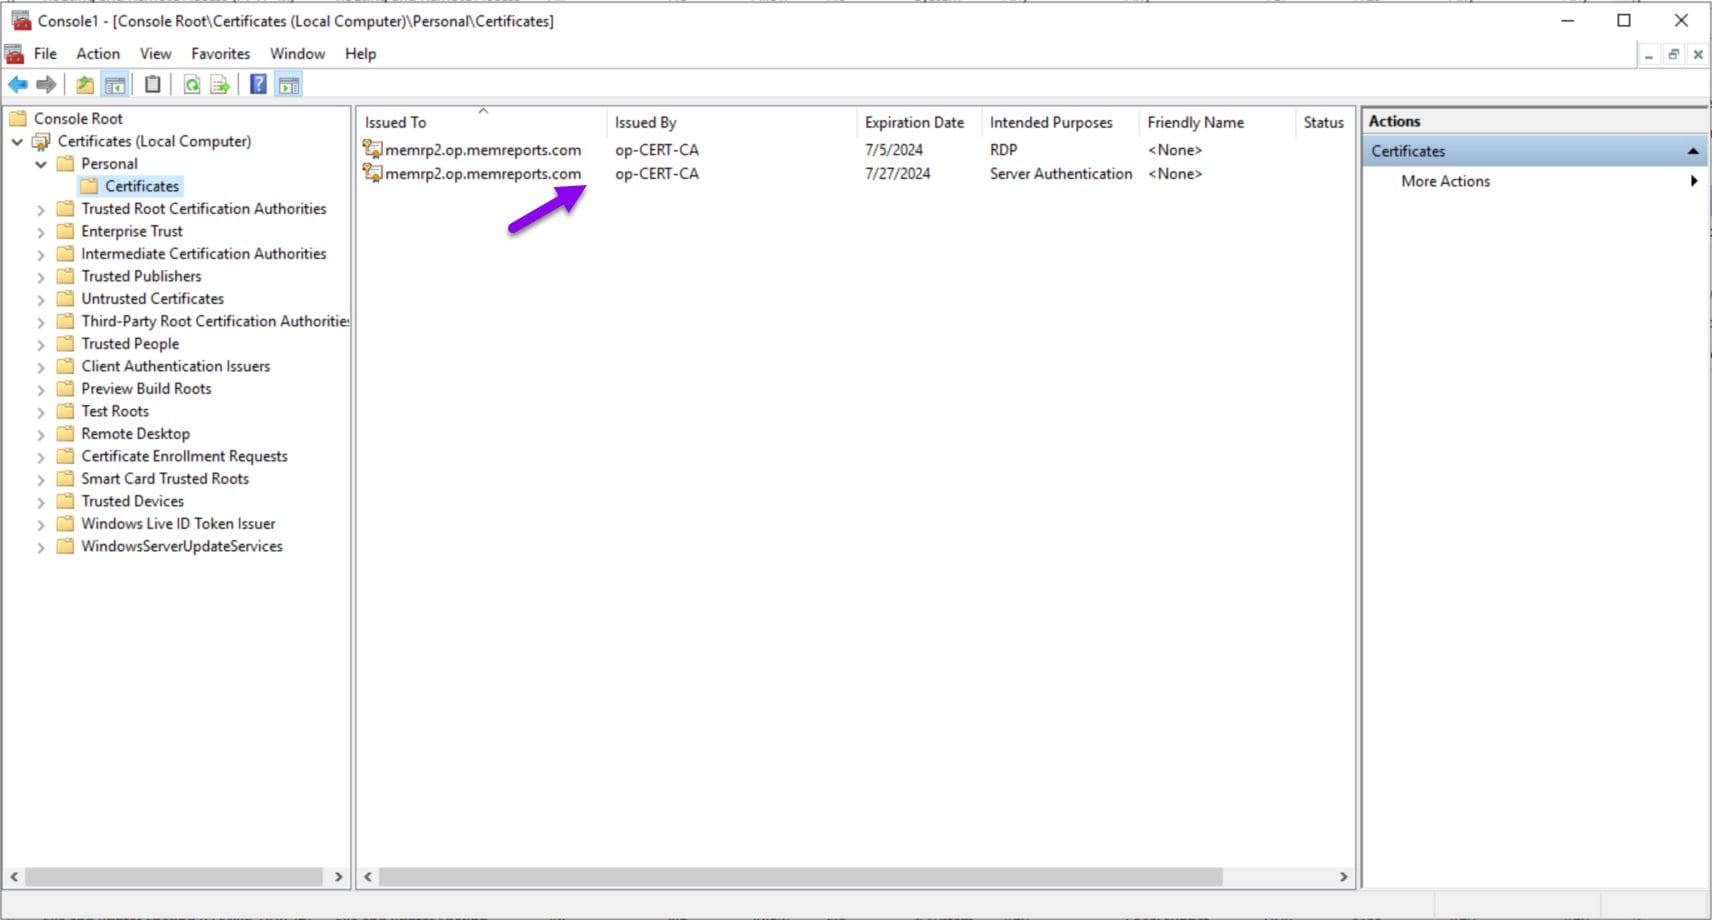 You should now see the Cert within the MMC.
How To Request Certificate for PBRS or SSRS – Video
In my next blog post, I continue along from this point by showing you how to setup SSRS / PBRS to use the server certificate for HTTPS, test the SSRS website and how to clean-up the SSRS website, If you get an “OLD” folder. Please feel free to touch base with me @GarthMJ.