Last updated on August 6th, 2022 at 04:02 pm
The installation process for SQL Server Reporting Services 2017 (SSRS) is a bit different than it was in previous versions of SSRS. One of the main differences is that the setup is now external to the SQL Server ISO. This means that you need to download the source files before you can start the setup. I noticed that I never published a blog post about how to install SSRS, so this post is part two of a three-part series. The series shows you, step-by-step, how I setup the SCCM current branch reporting services point with SSRS 2017 in my lab.
Prior to installing SSRS, however, you first need to install SQL Server 2017. In case you need a how-to guide, I show you the process in my first blog post of this series, How to Install SQL Server 2017.
Background
As you probably already know, Enhansoft, where I’m the Chief Architect, specializes in using SCCM to collect extra inventory details about computer warranties, computer monitors, local administrator group names, etc. Once these details are all inventoried and returned to SCCM, our customers need to see them in easy-to-read reports. After the reports are created, we test all of them on each version of SQL Server. Since I needed to setup SQL Server Reporting Services 2017 (SSRS) a second time (for a new reporting services point in my lab) I decided to put together a blog post series about how to install SSRS.
As I mentioned earlier, this blog post is the second one of a three-part set. After I show you how to setup SSRS 2017 in this post, in the next one I will show you how to setup the SCCM current branch reporting services point by using the SSRS site.
Prerequisites
Before installing SSRS 2017 ensure that:
-SQL Server 2017 is installed.
-The project key information used to install SQL Server 2017 is handy.
-The SSRS setup is downloaded.
Install SQL Server Reporting Services 2017
Start by double-clicking on the SQLServerReportingServices.msi file that you downloaded.
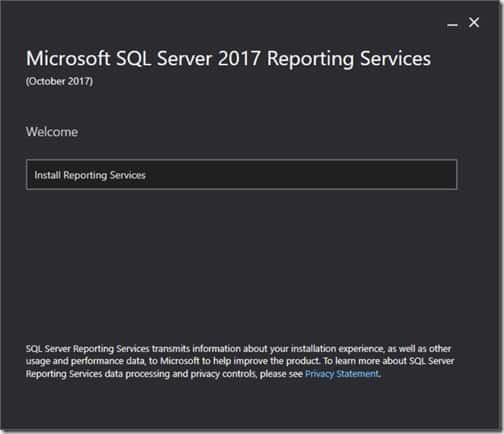
Click on Install Reporting Services.
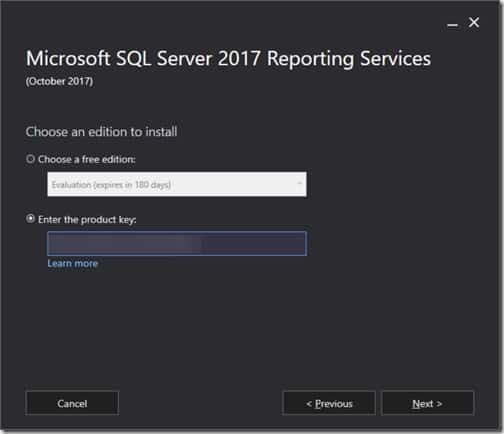
Select Enter the product key. Enter the product key and click on the Next button.
Wouldn’t it be nice if SSRS could read the product key directly from the SQL Server installation? It can’t, so this is why it is very important to copy the product key when you first install SQL Server.
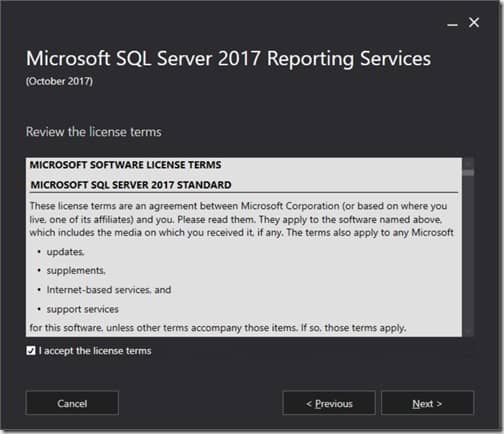
Select I accept the license terms and then click on the Next button.
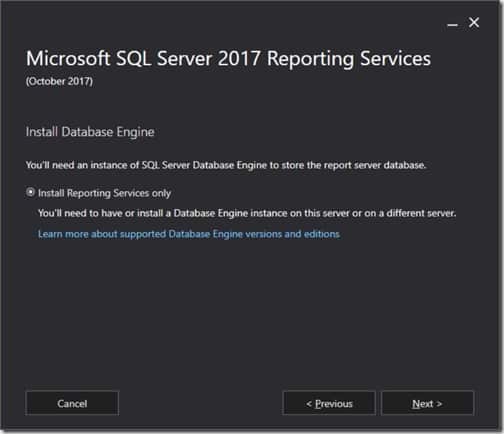
Click Next.
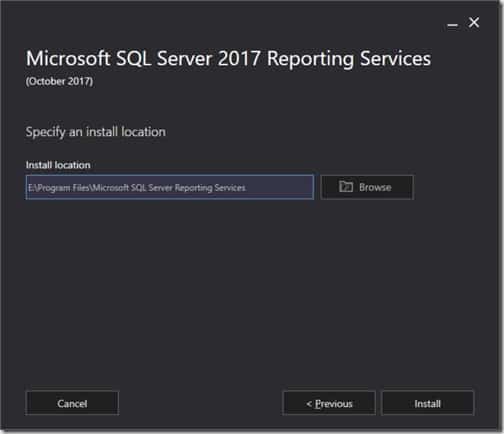
Nothing should be installed on the C: drive, just as you wouldn’t install the SQL Server database there, so change the install location to the E: drive. Then click on Install.
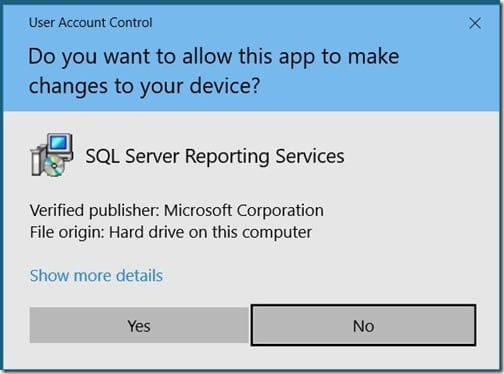
Click Yes on the User Account Control (UAC) prompt.
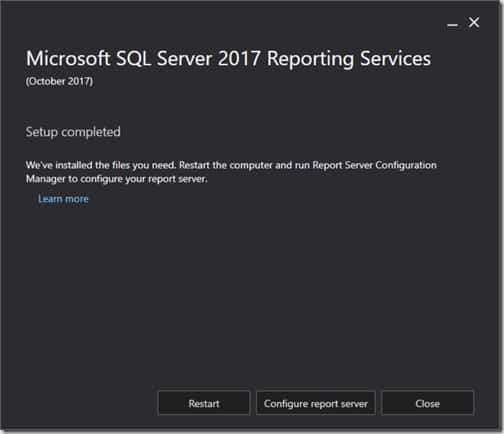
At this point, you have two options: Restart or Configure report server. This isn’t an either/or choice because in the end you will need to do both in order to complete the installation of SSRS.
I chose to restart the server first and then configure the report server second. This way I ensured that SSRS was completely installed before I tried to configure it. Make sense?
Click Restart.
Configure SSRS

Once the server is restarted, logon and locate the Microsoft SQL Server Reporting Services folder (partly hidden in the screenshot above). Then click on the Report Server Configuration Manager link.
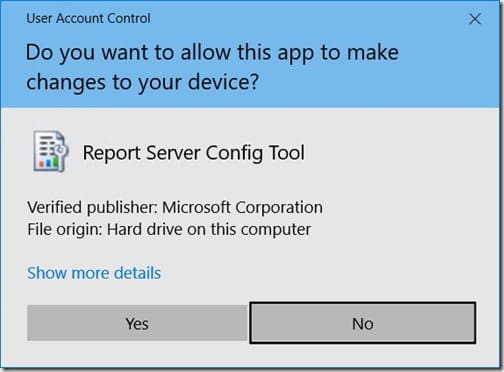
Click Yes on the User Account Control (UAC) prompt.
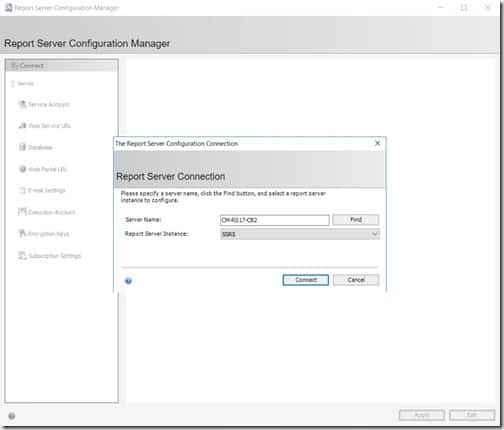
Click Connect.
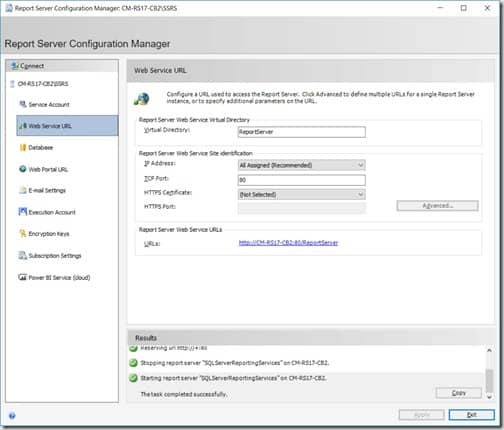
On the Web Service URL node, accept the Virtual Directory default information and then click Apply.
Wait for the Virtual Directory to complete its task (see the Results pane) before clicking on the Database node.
Configure database node
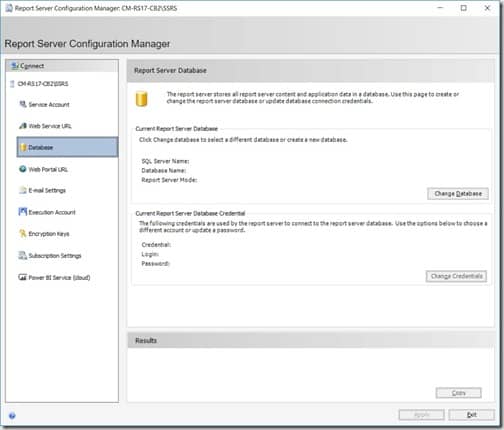
Click Change Database.
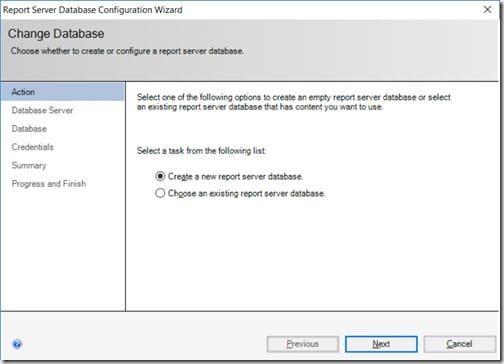
Accept the defaults and click Next.
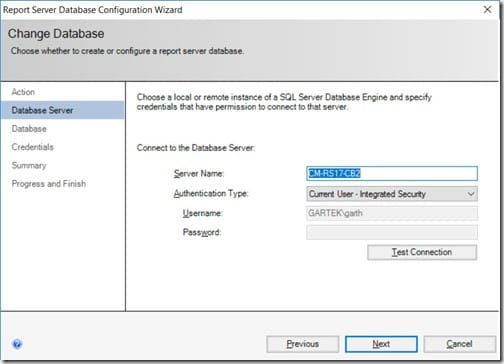
Click Test Connection.
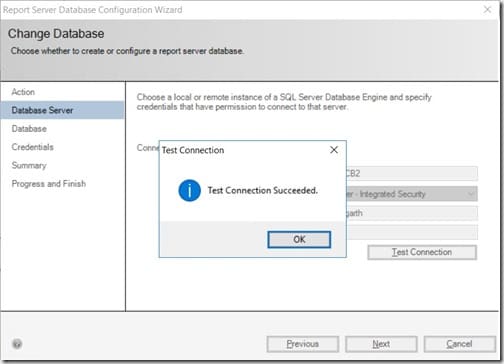
Close the window by clicking OK.
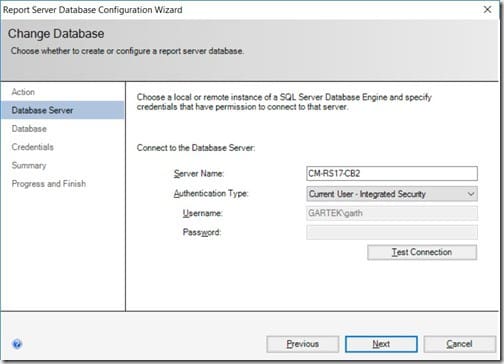
Click Next.
Credentials node
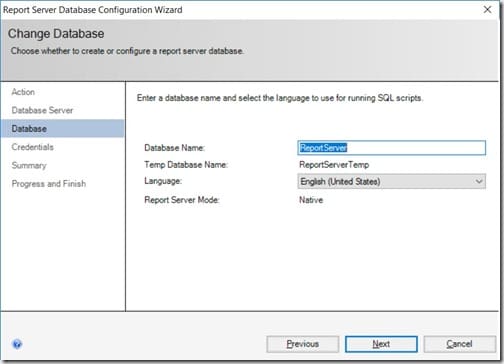
Again, click Next.
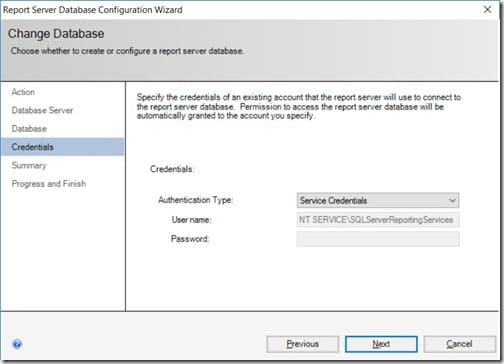
Once again, click Next.
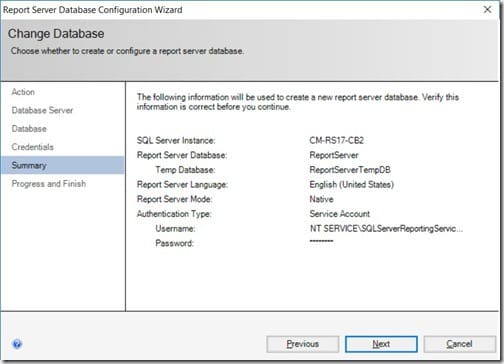
Click Next.
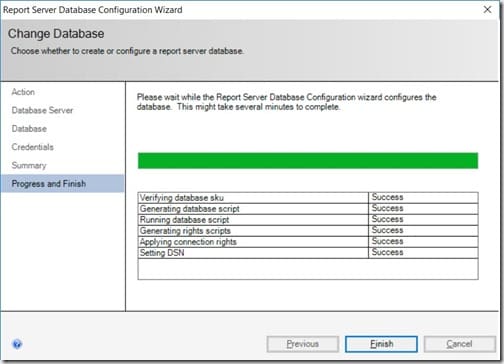
Click Finish.
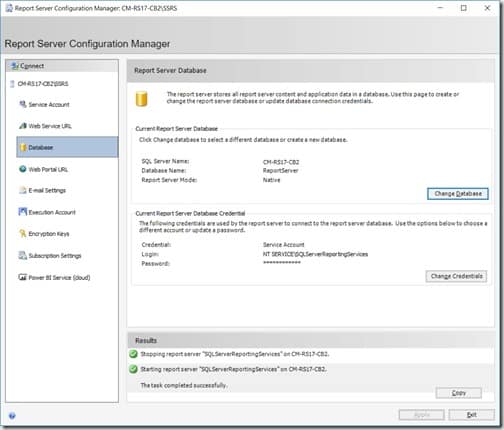
Upon returning to the main screen, wait until you see the message, The task completed successfully, in the Results pane. Then click on the Web Portal URL node.
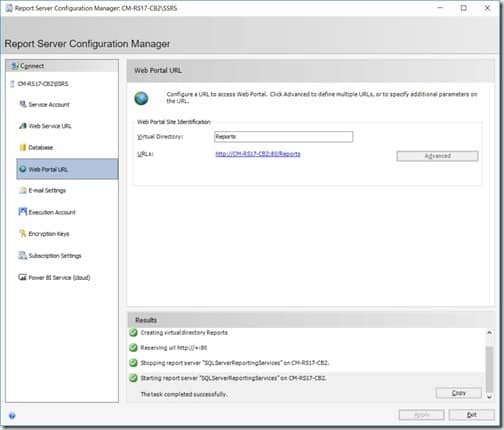
On the Web Portal URL node, accept the defaults and click Apply. Wait until the message, The task completed successfully, appears in the Results pane.
At this point everything is setup for SSRS. However, if you want to use email subscription, then you need to complete the E-mail Settings section. I highly recommend that you use this feature, but also keep in mind that you can change it at a later date by re-running this configuration and only updating the E-mail Settings node. Check out my post, How to Subscribe to SCCM Reports Using Office 365, for step-by-step instructions. In that post I’m using SQL Server 2016, but the steps are the same for SQL Server 2017.
Finally, click on the Exit button in order to close the Report Server Configuration Manager window.
