Last updated on August 6th, 2022 at 03:58 pm
By now you know that my plan was to setup Content Delivery Network (CDN) to use the Microsoft Azure CDN service. Unfortunately over a four-month period I could never get Microsoft Azure and CDN to work together, so I turned to Amazon CloudFront.
Long story short, in frustration, I decided to setup Amazon CloudFront, which is Amazon’s version of a CDN mostly because a friend of mine @ToddLamo told me that it was easy to setup.
He was right! It took about two hours from start to finish. Okay, it may have taken more time than that, but a good chunk of that time was documenting the process for this blog post.
Let’s get started! If you don’t have an Amazon account, you’ll need to create one. After I show you how to create an account and setup CloudFront Distributions, I’ll show you how to create an Identity & Access Management (IAM) account. In my next blog post, I will show you how I added the CDN (HTTPS) storage to WordPress.
Creating an Account on Amazon Web Services (AWS)
I’m going to start by setting-up the Free Account.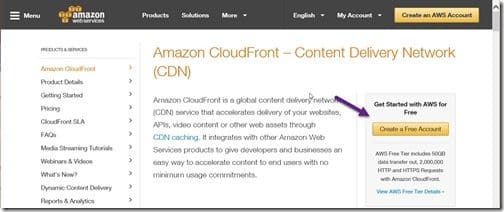
Click on Create a Free Account.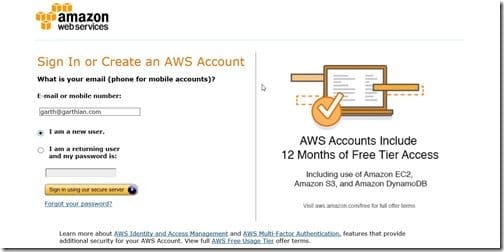
Enter your email address and then select, “I am a new user.” Next select, “Sign in using our secure server.”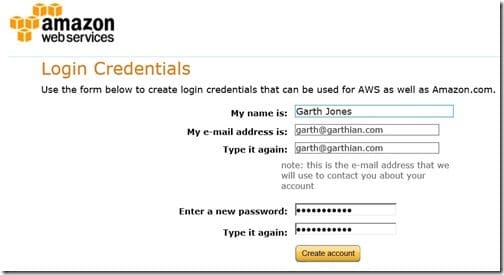
Fill in your name and email address, as per the instructions, and then provide a secure password. Then click on Create account.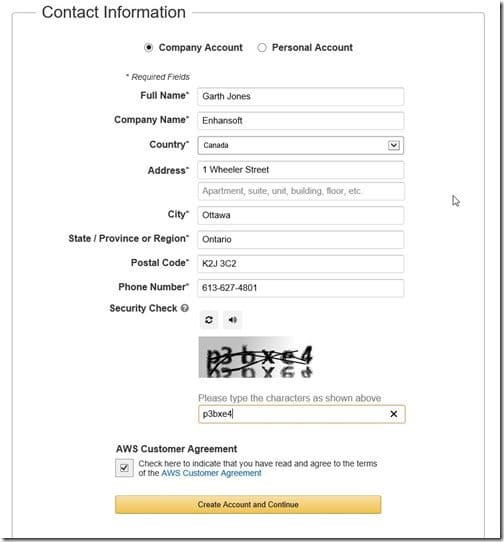
Next complete the contact details and enter the security check information. Make sure to select the check box for the AWS Customer Agreement before clicking on the Create Account and Continue button.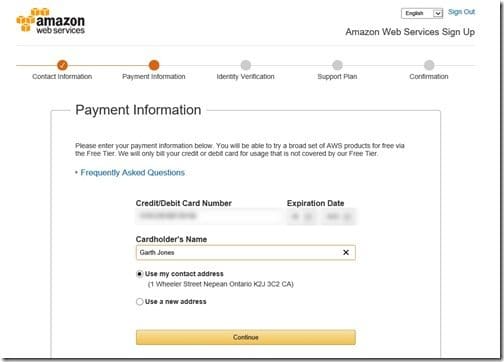
Enter your credit card information. Once completed click Continue.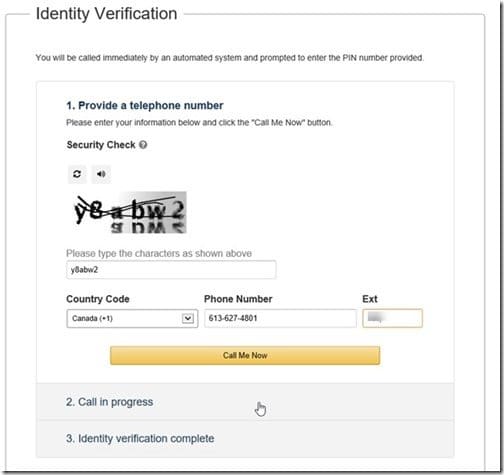
At this step, Identity Verification, I entered my office number and then clicked on Call Me Now.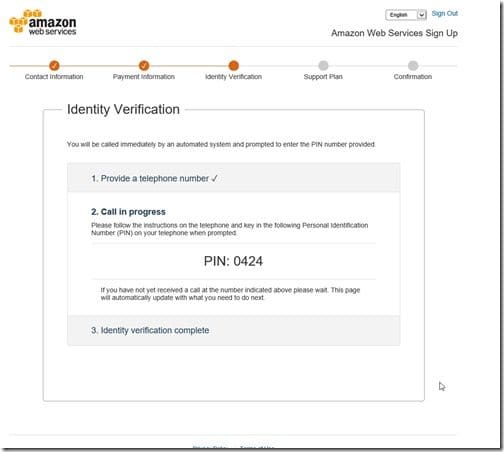
Within a minute my phone rang. I then entered the PIN on the keypad.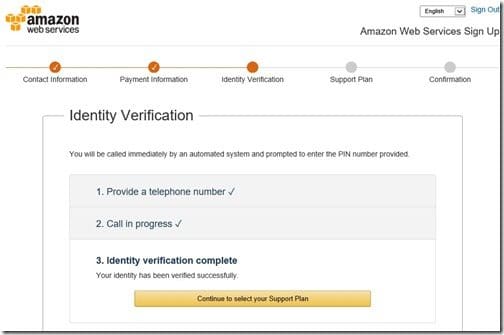
As soon as the PIN was entered my Identity Verification was completed. I then clicked on Continue to select your Support Plan.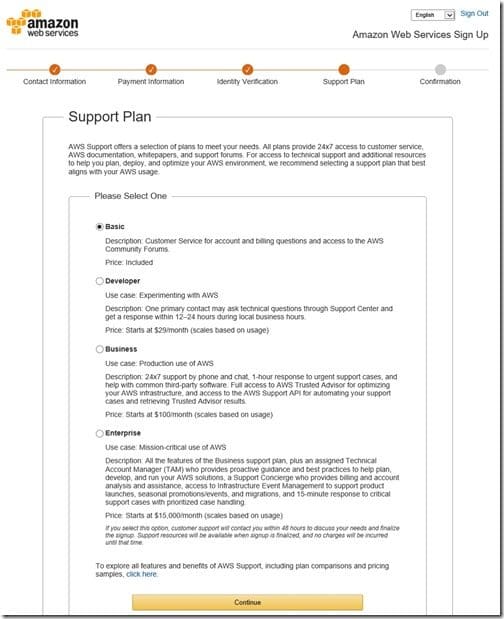
I selected the Basic plan and clicked Continue. This step completes the registration process. Now you go back to the AWS’ home page.
Amazon CloudFront
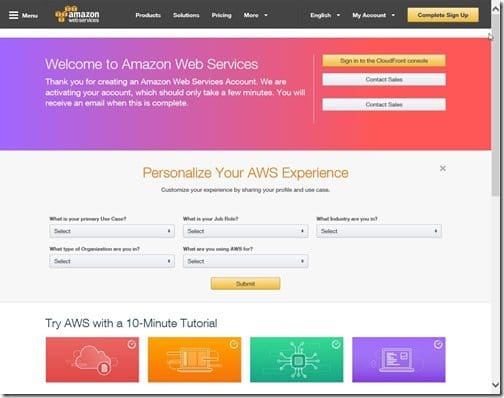
Back at the AWS home page, click on the Sign in to the CloudFront console button.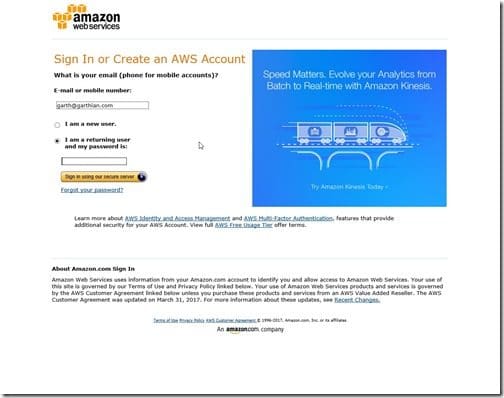
Enter your password and click on, Sign in using our secure server.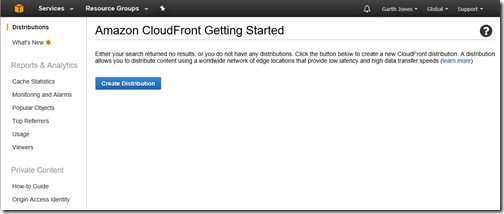
Click Create Distribution.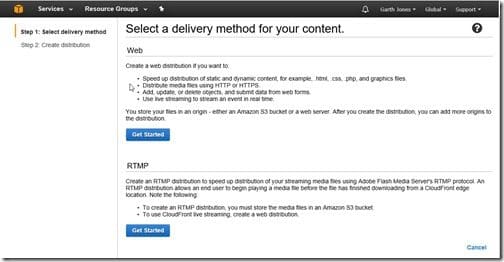
Click Get Started under the Web section.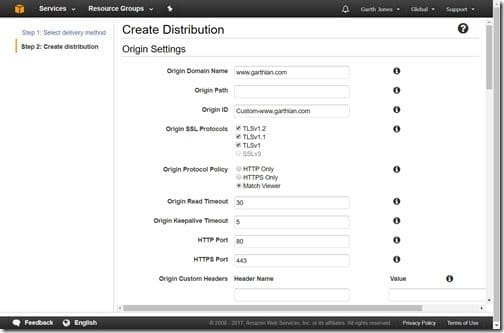
In the Origin Domain Name space enter your domain name. In this example, I am using www.garthian.com. Adding the origin domain name will auto-populate the Origin ID. Next, select the Match Viewer radio button under Origin Protocol Policy.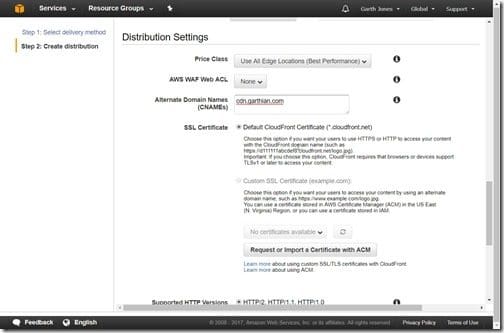
Since I’m using a CNAME for my site, I scrolled down to the Distribution Settings section. In the Alternate Domain Names (CNAMEs) field, I entered the CNAME.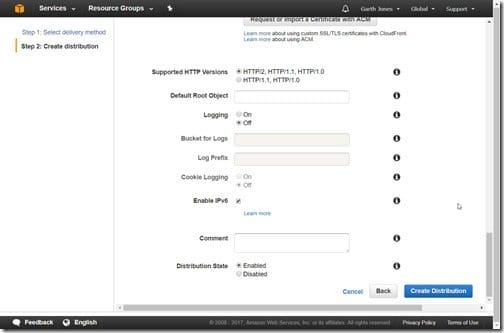
Next, scroll down to the bottom of the page and click on the Create Distribution button. Doing so will return you to CloudFront Distributions.
Wait until the Status (see the purple arrow) is marked as completed. While this is finishing-up you can move onto the next step. Setting-up an Identity & Access Management (IAM) account.
Identity & Access Management (IAM)
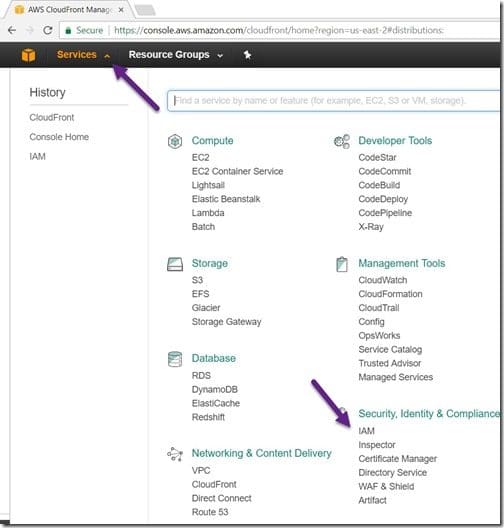
In the top-left corner of the page click on Services. Then click on IAM.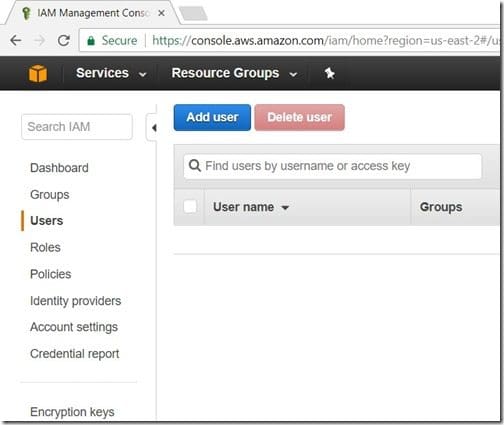
Select the Users node and then click on Add user.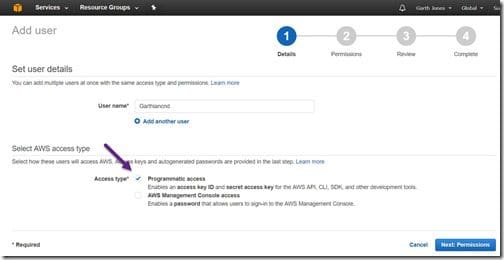
In the User name field enter a user name and then make sure to select the Programmatic access check box under Access type. Click on the Next: Permissions button.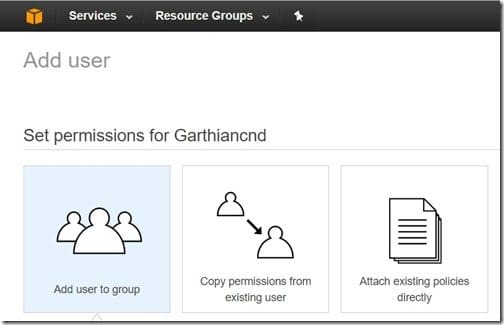
Click on Attach existing policies directly.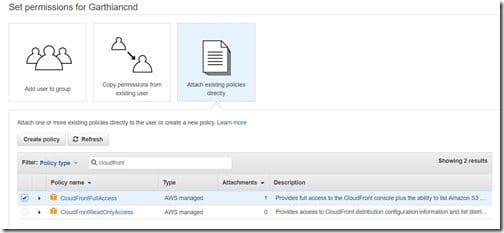
Select the check box next to CloudFrontFullAccess and then scroll down to the bottom of the page and click on the Next: Review button.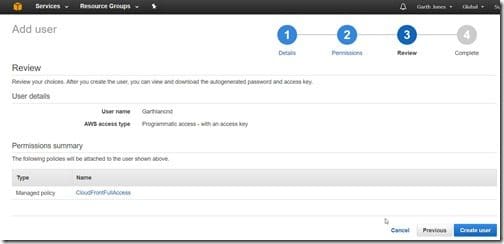
Click on the Create user button.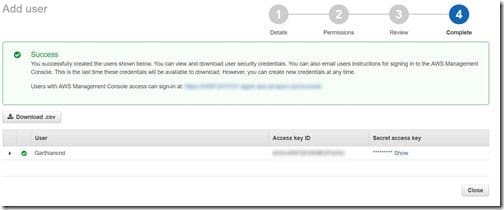
Finally success! Make note of your Access key ID and Secret access key. I like to copy and paste these into Notepad. Click Close when you are done.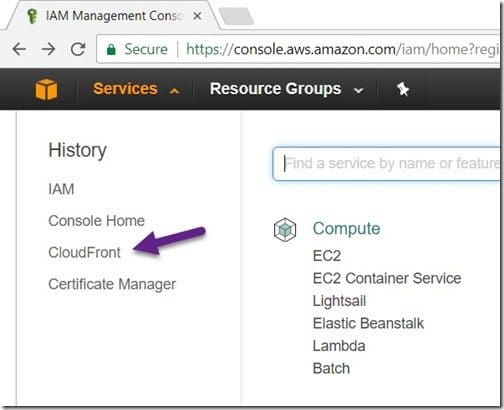
Next I’ll confirm that the CloudFront distribution deployment completed. Click on Services in the top-left corner of the page and then click on CloudFront.
Confirm that your status says Deployed. Click on the ID link.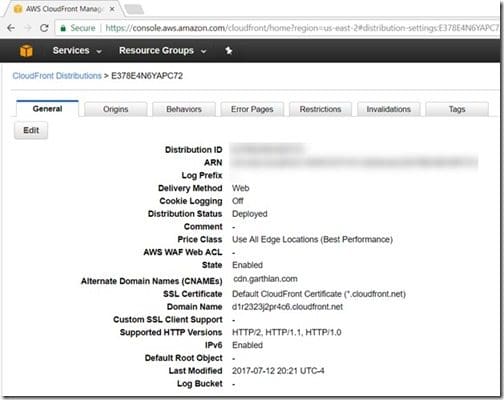
Make a note of your Domain Name; I like to copy and paste it into Notepad. You will need this information for the next blog post on how to add CDN into WordPress. I will also show you how to set-up CloudFront in order to use HTTPS. In the final blog post of this set, I will show you my website’s speed test/performance results and tell you about the lessons that I learned.
If you have any questions, please feel free to contact me @GarthMJ.
