
Last updated on April 27th, 2024 at 09:57 am
Have you ever wanted to rebrand the ConfigMgr reports with your own logo? This video and blog will show you how to do it.
Default Branding

Above is what the default Microsoft branding looks like. It works but it would be better if it had my logo on it.
How to Quickly Rebrand all the ConfigMgr Reports
The high-level steps to rebrand the ConfigMgr Reports is as follows:
- Resize your logo
- Save the logo as a png
- Upload the png to PBRS
PNGs
There are three pngs files that you can change, however you will need to review the ConfigMgr reports as in some case the pngs are stretch or compressed.
|
PNG |
Size |
Notes |
|
Report_Header_Center.png |
1000 x 72 |
This center one can get stretched and such be careful. This one is a solid color. |
|
Report_Header_Left.png |
20 x 72 |
This one is small and is a solid color. |
|
Report_Header_Right.png |
225 x 72 |
This is the Microsoft Configuration Manager Logo. |
Resize your Logo
I can’t give you step by steps to do this but, what I can give you are the details that you need to match the logo size within the default reports. Within the video, I will be using SnagIt to resize the Ask Garth logo to 225 x 72 pixels. I will not try to color match the background to match the existing background. However, the logo file has a transparent background so it will use the existing background. Your web development team can help with the logo resizing.
Save the logo as a png
Now that you have your logo at 225 x 72, you need to save it at a png but you also want to name it Report_Header_Right.png. Otherwise, it will not be used within the default reports. Make sure that you keep a copy of the finished logo.
Upload the png to PBRS
There is only one trick to this, the folder on your reporting point is hidden, you first must show hidden item then you can open the folder and upload the Report_Header_Right.png file.
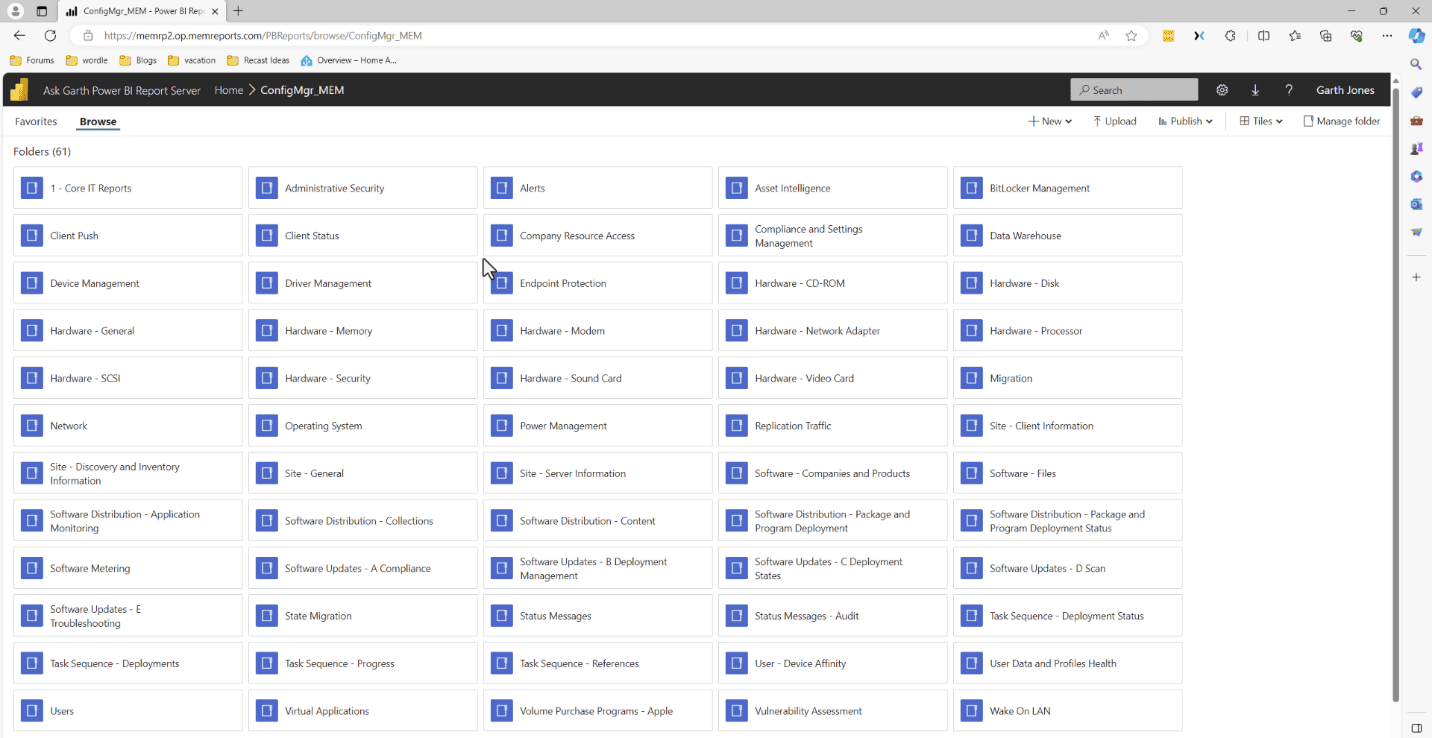
Start by browsing you to PBRS server home page. Then drill in to your ConfigMgr_<you site code> folder.

Select the Titles menu, then check Show hidden items.

Drill in to Report Resources folder.

Before uploading your png, this is the time to back up the existing png. Select the ellipsis to expose the menu, then click download. Repeat for each png.

Now, click the Upload menu item.

Select the png and click Open. That is, it you are done.
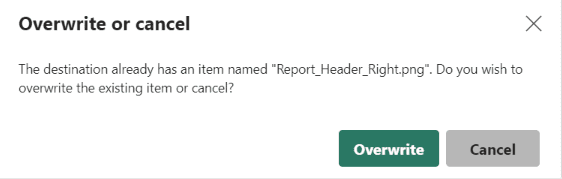
Select yes to overwrite the existing logo. With this step completed, you are done. Time to review the results.
Finished Branding

Select one of the ConfigMgr default reports and view the results. Above is what the finished branding looks like. Doesn’t that look better? Honestly with tweaking you can get the report header to look better.
Notes
If you reporting point ever get reinstalled or upgrade you will need to redo this process or at least re-upload the png that you saved.
How to Quickly Rebrand the ConfigMgr Reports Video
Below it the associated video for this blog, it will show the steps I took along with some extra details.
If you have any questions about How to Quickly Rebrand the ConfigMgr Reports, please leave me a note in the comment section below or contact me @GarthMJ. Please also subscribe to my YouTube channel and newsletter to stay on top of the latest trips and tricks.