Last updated on August 2nd, 2022 at 09:41 am
In my last two blog posts, I showed you how to create a VM and then how to install an Android 4.4 R5 within that VM. In this blog post I will show you how to configure a first-time Android device.
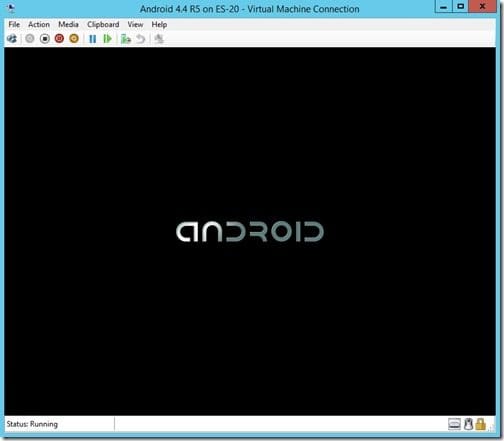
1. After the initial boot, the Android logo will appear on the screen for about a minute.
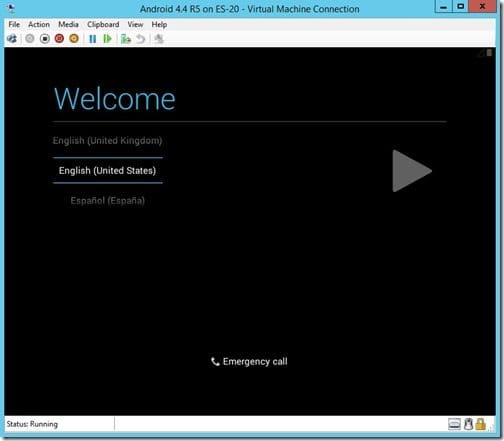
2. At the Welcome page, click on the “triangle” button.
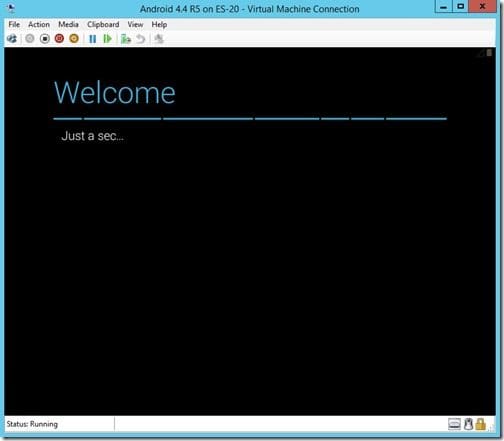
3. Wait for about another minute.
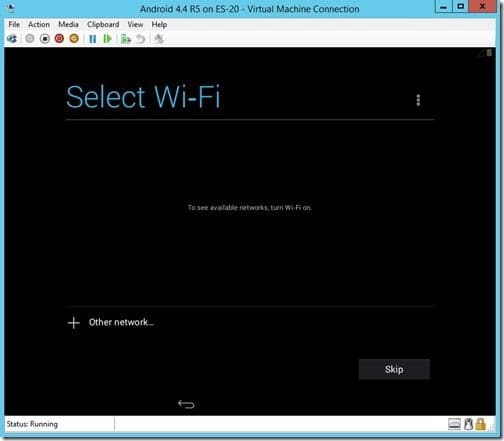
4. Skip the Wi-Fi.

5. Next, select Skip anyway.
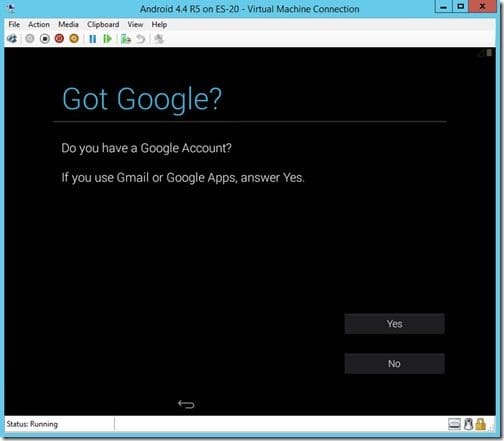
6. Since I have a Google Account, I will select Yes.
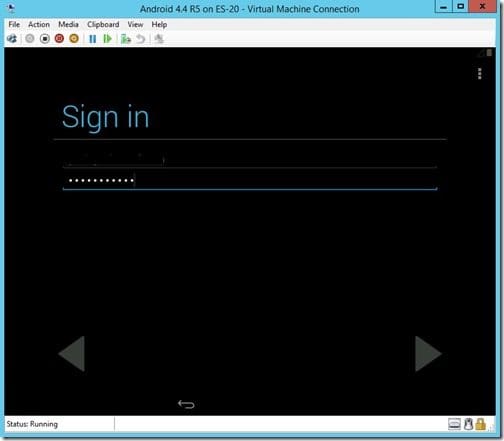
7. Enter your Google account details.

8. Click OK.
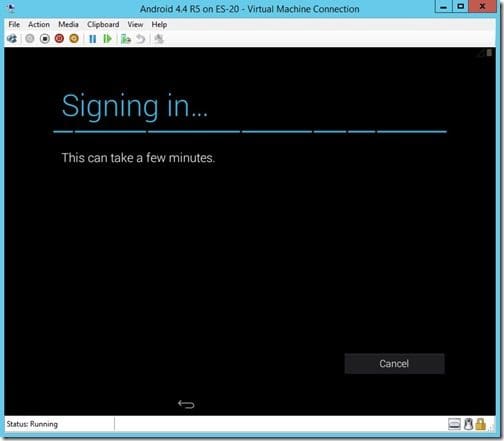
9. Then wait…
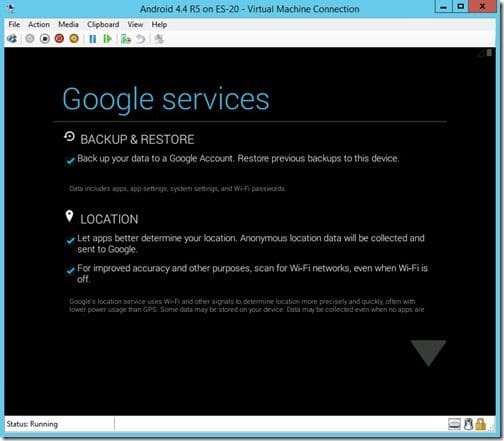
10. Click on the Down arrow.

11. Click on the Next button. (Somehow this screenshot turned into a Ghost!)

12. Click on NO THANKS.
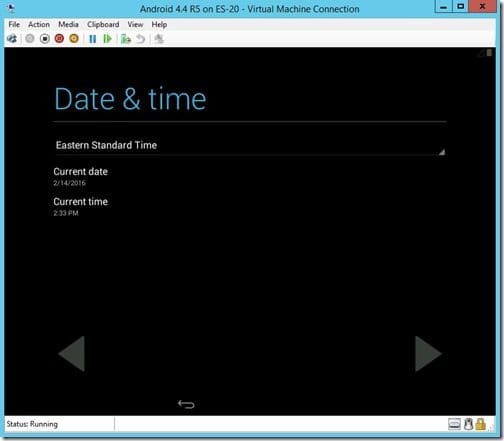
13. Make sure that the date and time are correct and then click on the Next/Triangle button.
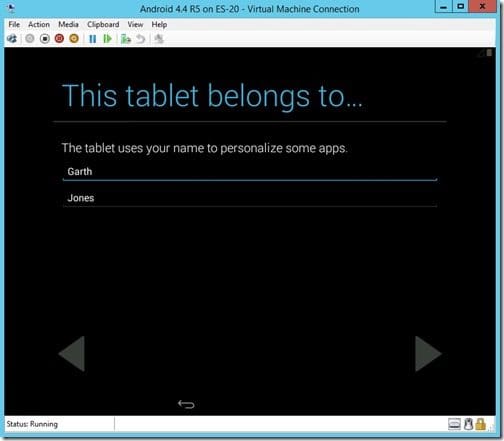
14. Set the personalization setting and then click on the Next/Triangle button.
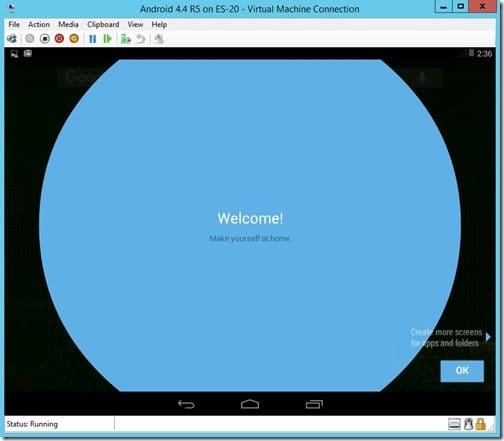
15. Click on the OK button twice in order to end up on the Android desktop.
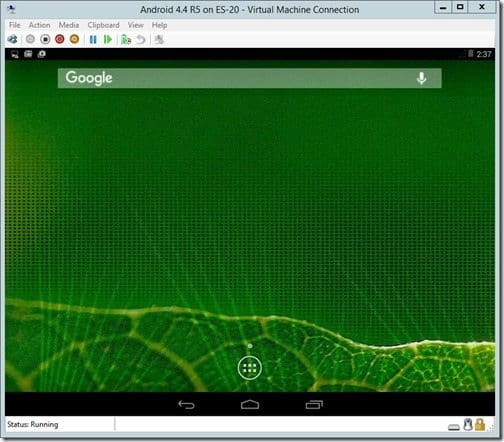
16. You are finally at the Android desktop!
In my next blog post, which will be published next week, I will provide you with a few tips for setting up and using your Android VM in order to reduce headaches! These tips will include how to prevent the Android VM from sleeping. In the meantime, if you have any questions about how to configure a first-time Android device, please contact me @GarthMJ. Or, you can leave a note in the comment section below.
