Last updated on December 29th, 2023 at 12:52 pm
As a ConfigMgr administrator understand WMI is important part of the job. ConfigMgr Hardware inventory using WMI to collect data. On top of that, ConfigMgr itself use WMI to interface with its backend and SQL server using WMI too. Using Wbemtest or WMIC or PowerShell is not that convenient as compare to WMI Explorer. In this blog and accompanying video, I will show you how to use WMI explorer.
What is WMI?
To quote the Microsoft docs About WMI:
Windows Management Instrumentation (WMI) is the Microsoft implementation of Web-Based Enterprise Management (WBEM), which is an industry initiative to develop a standard technology for accessing management information in an enterprise environment. WMI uses the Common Information Model (CIM) industry standard to represent systems, applications, networks, devices, and other managed components. CIM is developed and maintained by the Distributed Management Task Force (DMTF).
In a nutshell WMI is on every computer and it allow you to do thing like manage the device and collect inventory. It is the second part that most ConfigMgr admins are using. All of ConfigMgr Hardware inventory is based off of WMI. Wbemtest or WMIC is the normal utilities to access WMI on any windows computers.
What is WMI explorer?
WMI Explorer has a much more user-friendly interface as compared to wbemtest or wmic. It should be within all ConfigMgr toolboxes! The current version of WMI Explorer is 2.0.0.2 and you can download it from GitHub. There are no tricks to installing it as it is just an executable. Copy it anywhere you like and run it.
How to Use WMI Explorer?
In this example, I will show you have to launch WMI explorer, and browse to Win32_ class and view the results.

Start by launching WMIExplorer. Then click Connect in the top left.
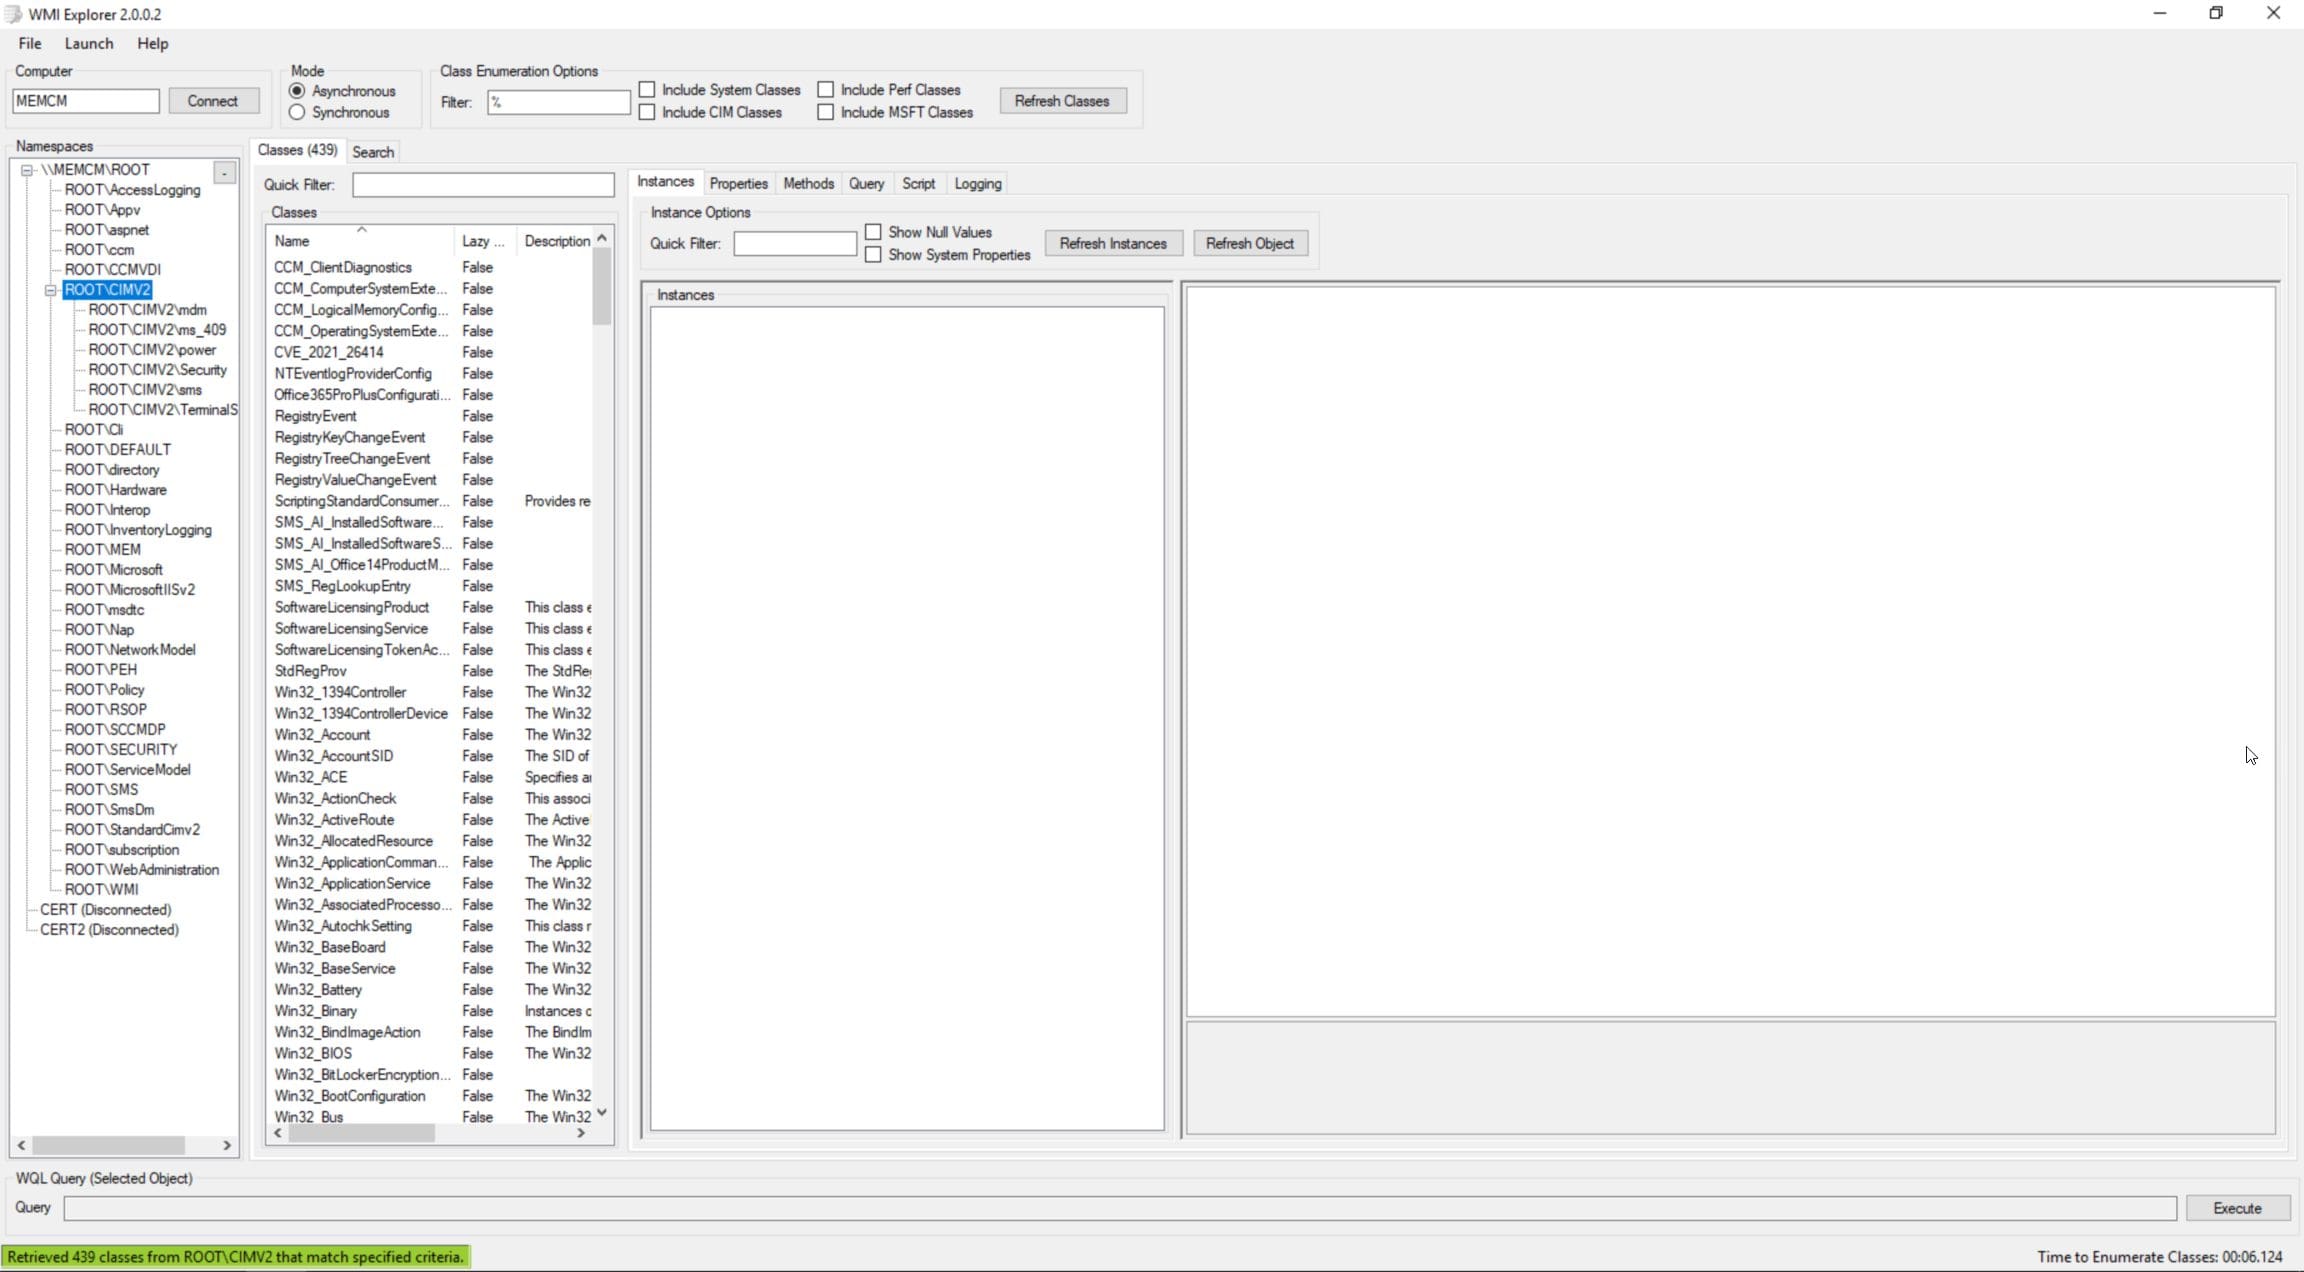
In the left panel, double click CMIv2. Notice that the second panel will populate with WMI Classes.
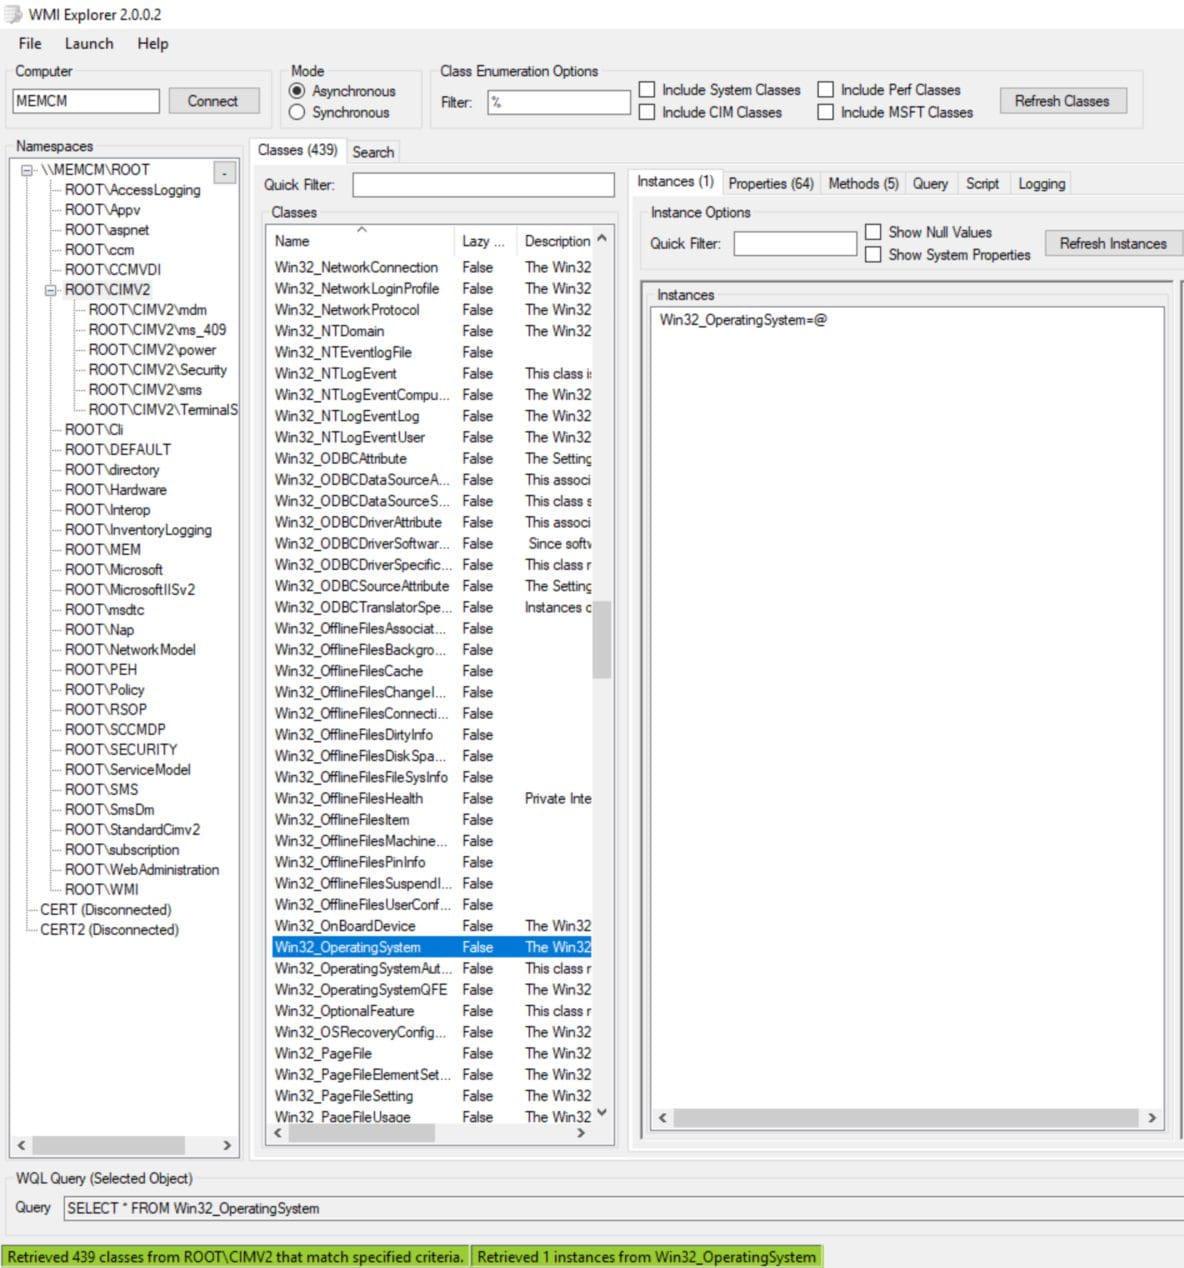
In the Second panel, scroll down until you find Win32_OperationSystem, then double click it. Notice that the 3rd panel is populated.
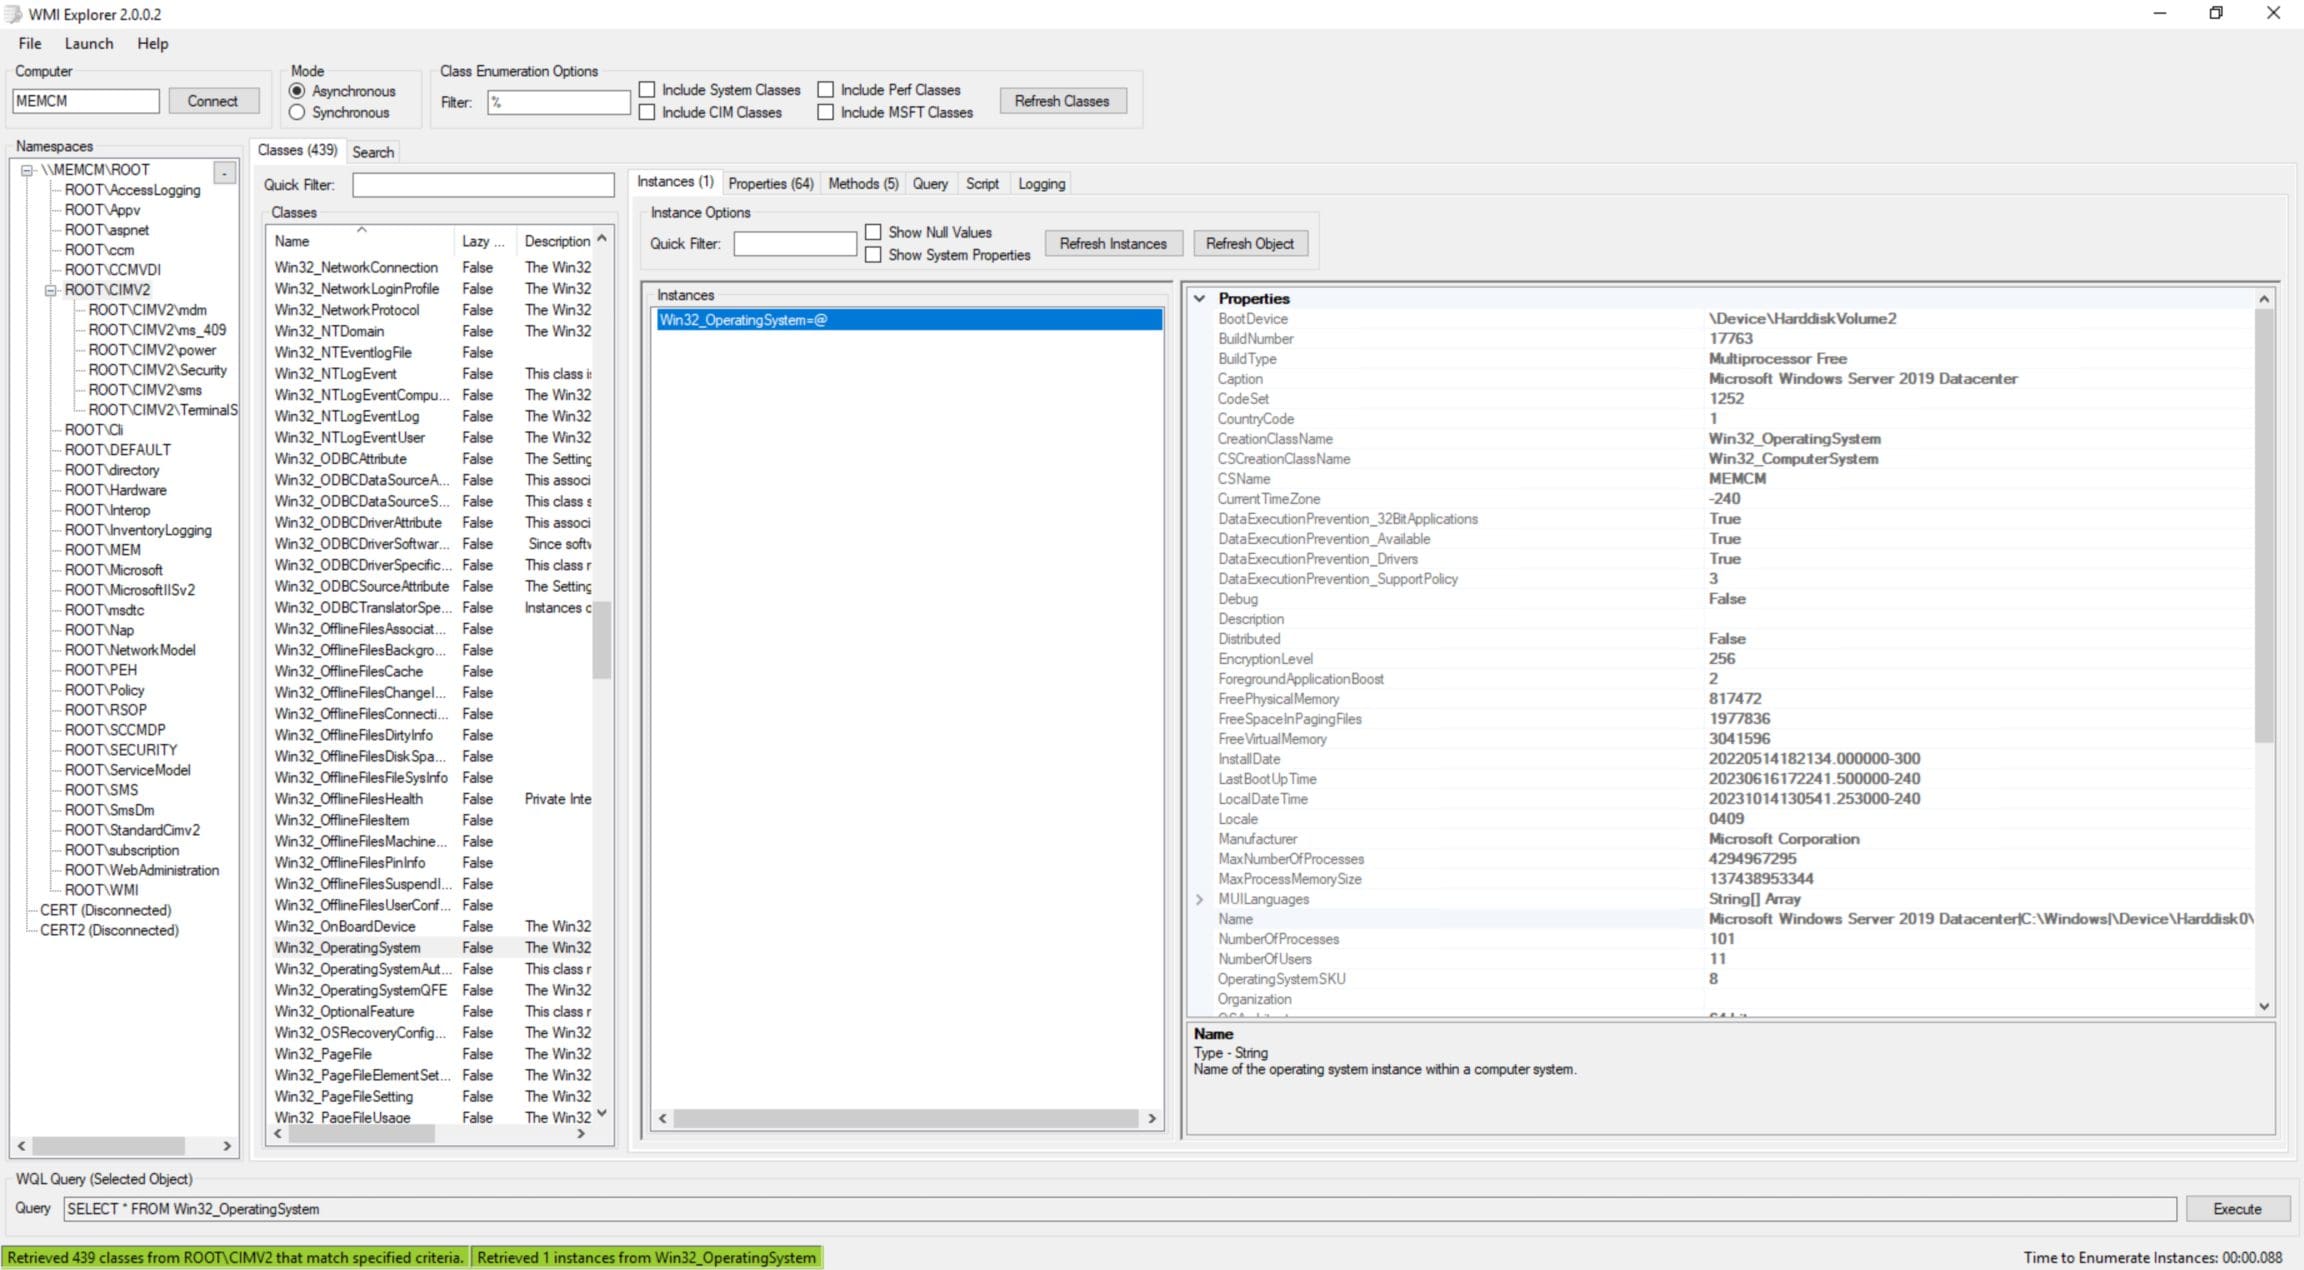
Select the instance. Notice that the 4th panel is populated. It is the 4th panel that will show you all the interesting details about the OS on this computer, such as the number of CPU. RAM, OS version, etc.
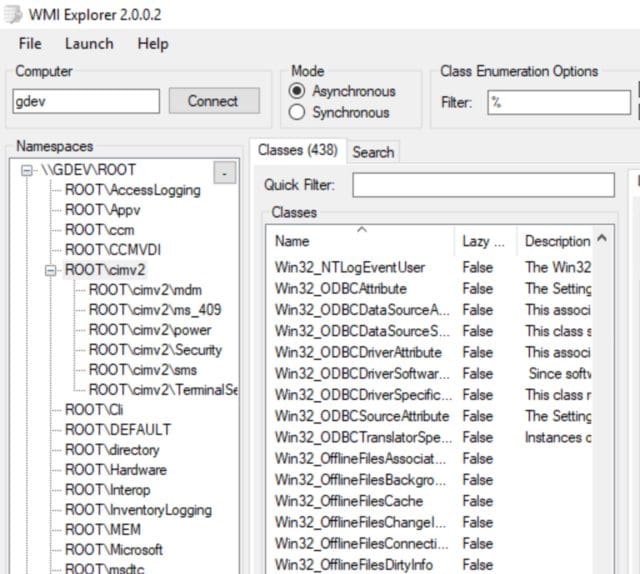
There are no tricks to use WMIExplorer to look at a remote computer. In the top left in the computer text box enter in a computer name and click enter. Then use WMIExplorer as you did on the local computer.
Tips and Tricks
Launch Menu
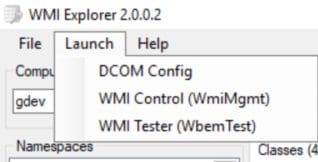
Under the launch menu you can access three common WMI tools. DCOM Config, WMI Control and WMI Tester. These tools can help with permission changes and accessing WMI using the native tools.
PowerShell
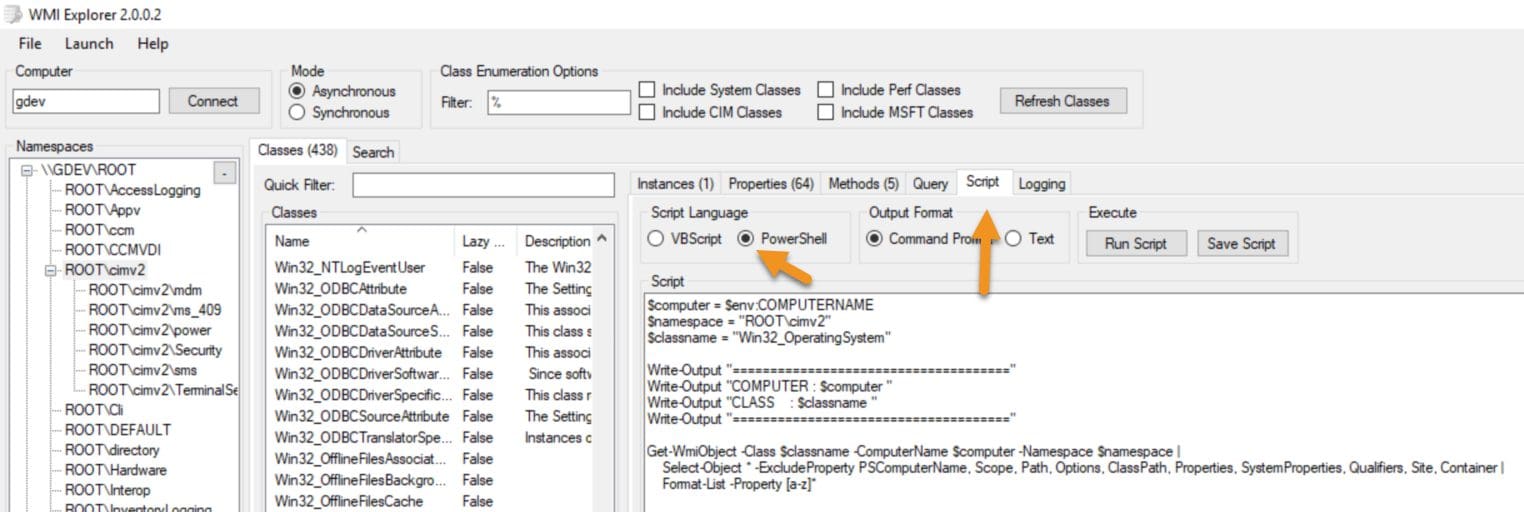
When you are on a WMI class, you can select the Script tab (organ arrows) and have it create and PowerShell script for you. How helpful is that!
WMI Explorer Video
Within the Video, I will show you how to use WMI Explorer to view details with WMI. I will also show you details on how to remotely connect to another computer to see it’s WMI too.
I hope that you find this blog useful, how you because the best ConfigMgr Administrator there ever was. Finally, don’t forget that you can subscribe to my YouTube channel and newsletter to stay on top of the latest trips and tricks. Additionally, if you have any questions, please feel free to touch base @Garthmj.
