Last updated on August 7th, 2022 at 09:02 pm
There’s yet another WannaCry variant out there and this time it’s called Petya! I heard about a method in ZDNet from Amit Serper that will prevent this variant of WannaCry/Petya from infecting computers.
In reality, this method involves creating a file called perfc with no file extension.
In my opinion this is solely a stop-gap measure, but in spite of its apparent short-comings, I decided that I’d figure out a way to easily implement it by using System Center Configuration Manager (SCCM) and Configuration Item (CI).
I’m going to use SCCM 1702 in my example below, BUT there isn’t any reason why it shouldn’t work with all versions of SCCM going back to 2007.
I wrote this script in PowerShell, and I will use this script for both CI checking and CI remediation.
PowerShell Code
$win=$env:windir
$strFileName=”$win\perfc.”
If (Test-Path $strFileName){
## Do nothing
}Else{
#write-host “file does not exist, Creating”
Add-Content -Path $strFileName -Value “”
}
If (Test-Path $strFileName){
write-host “file exist”
}Else{
#write-host “file does not exist, Creating”
#Add-Content -Path $strFileName -Value “”
}
Exit
Creating a CI
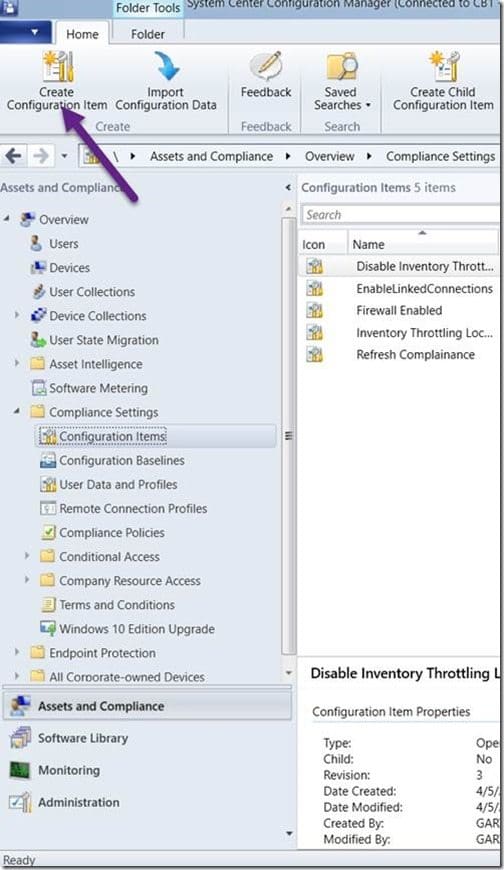
Open the SCCM console. Select the Assets and Compliance node, expand Compliance Settings | Configuration Items. Then in the ribbon, select Create Configuration Item.
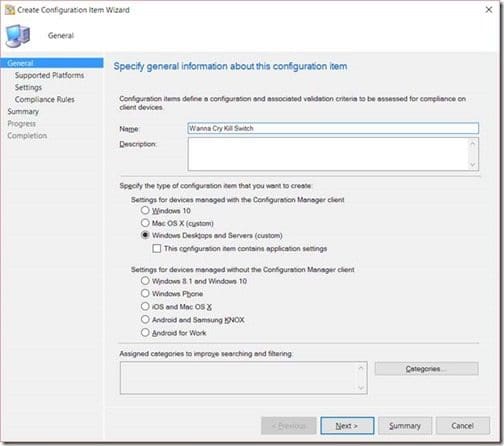
Give the Configuration Item (CI) a Name and click Next. I called it, “Wanna Cry Kill Switch,” when creating this CI, but in hindsight maybe I should have called it, “Petya,” instead.
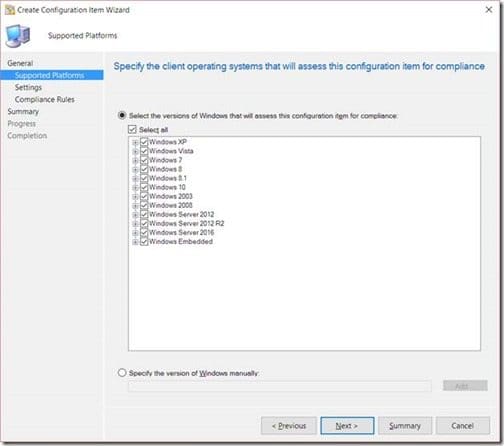
Click Next.
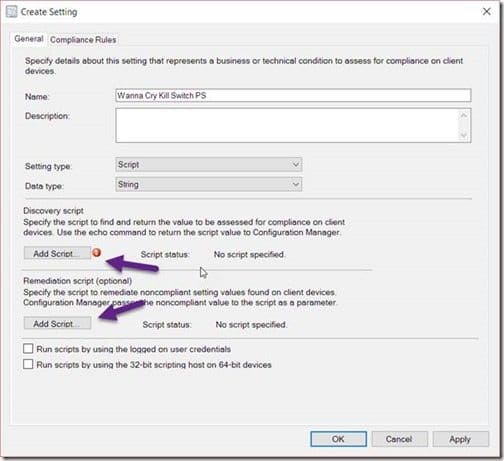
Enter a Name and click on the first Add Script button for the Discovery script. You will repeat the next step for the second arrow (Remediation script) too.
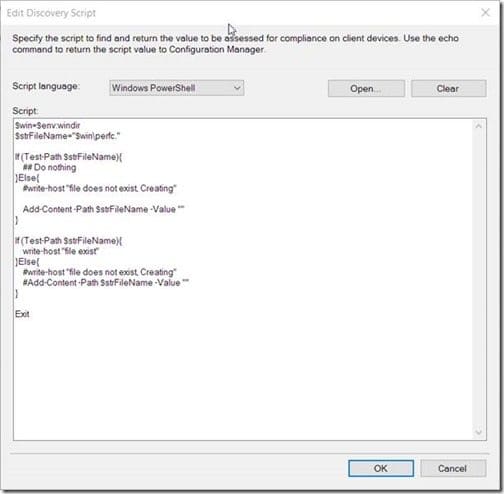
Straightaway, paste the script in the Script window and click OK.
Now back on the General tab, click on the second Add Script button for the Remediation script. Paste the script in the Script window and click OK.
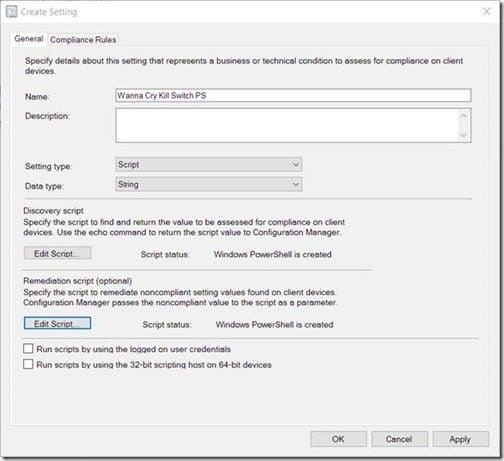
After pasting the script in the Script window for both the Discovery script and the Remediation script, your window will look similar to the one above. Click OK to continue.
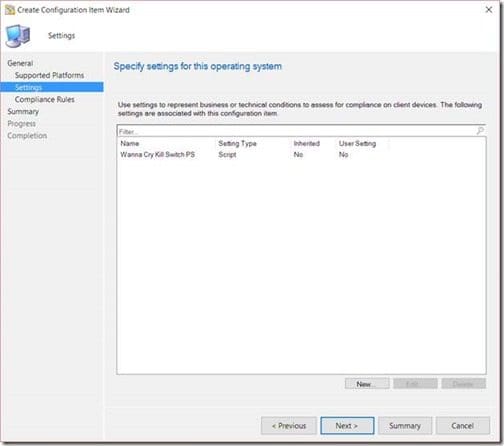
Meanwhile. click Next.
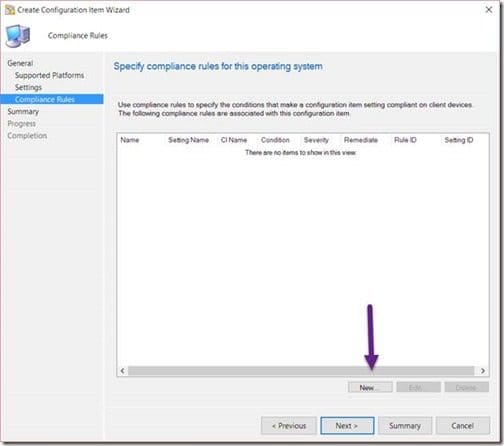
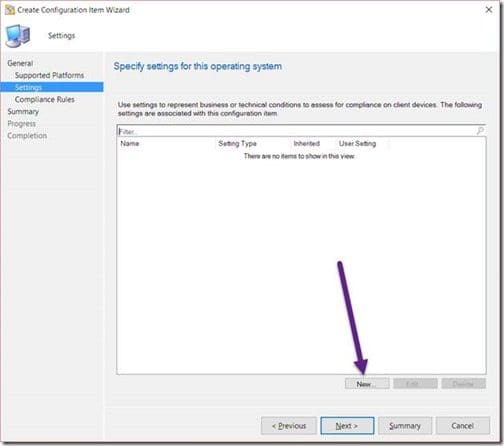
Click on the New button.
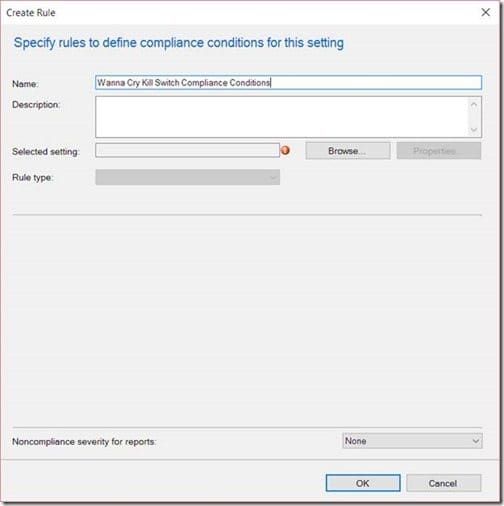
Afterwards, click Browse…
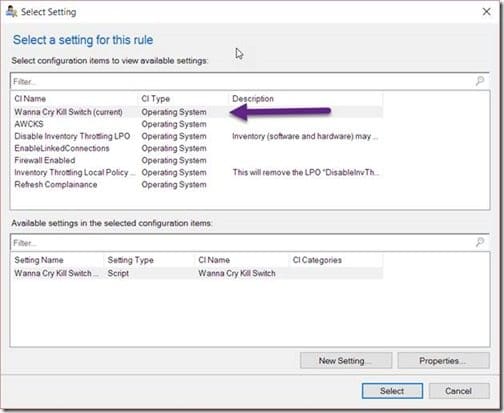
Your CI should be selected by default, so next click on the Select button.
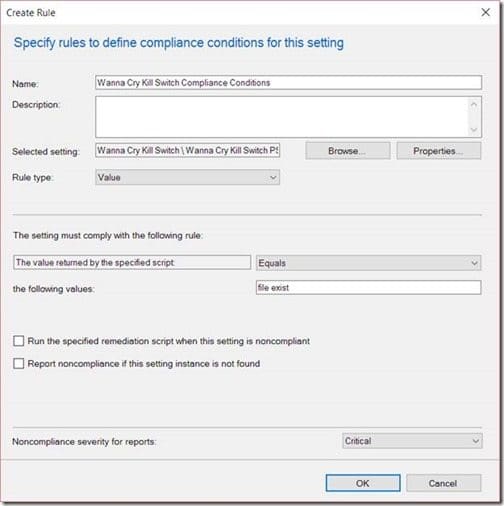
Enter file exist within the value text box. Change Noncompliance severity for reports to Critical before clicking on OK.
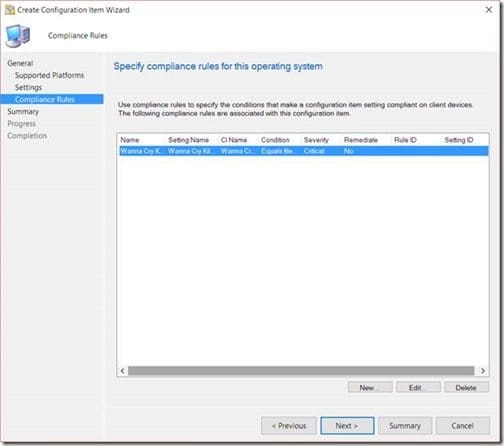
Also click Next.
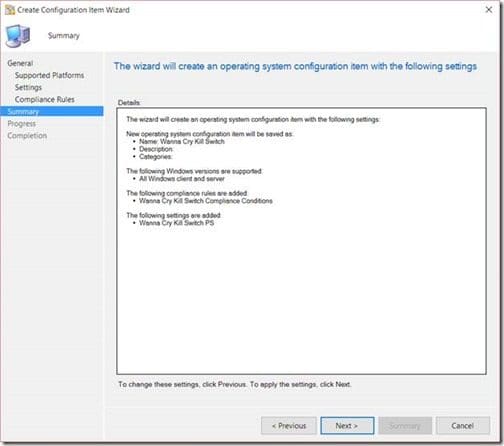
Similarly, click Next.
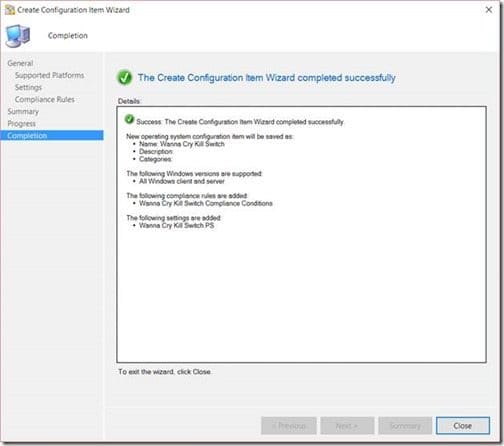
Obviously, click Close.
Creating a Petya Baseline
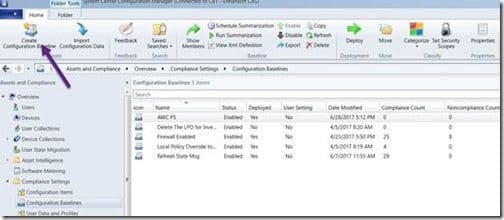
On the Configuration Baselines node, in the ribbon, click on Create Configuration Baseline.
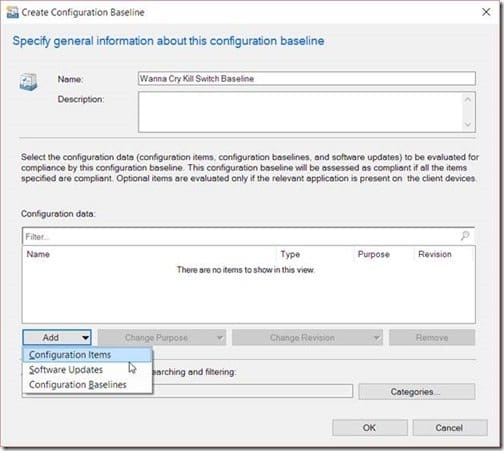
Provide a Name. Next, click on Add and select Configuration Items.
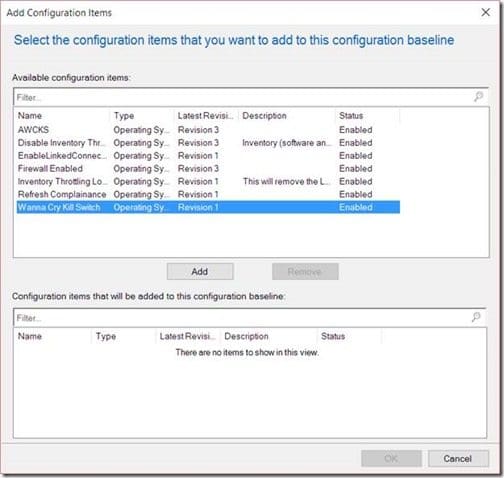
Following locate your CI and click Add.
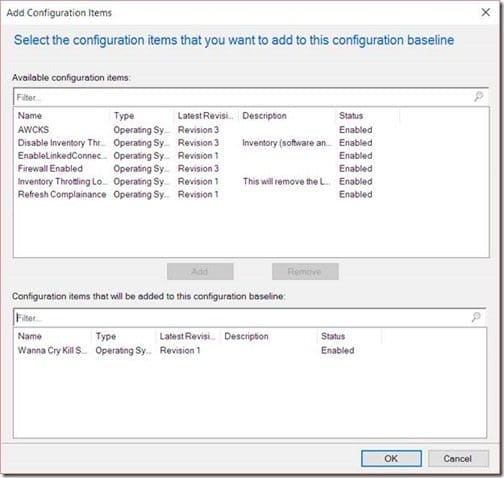
Click OK.
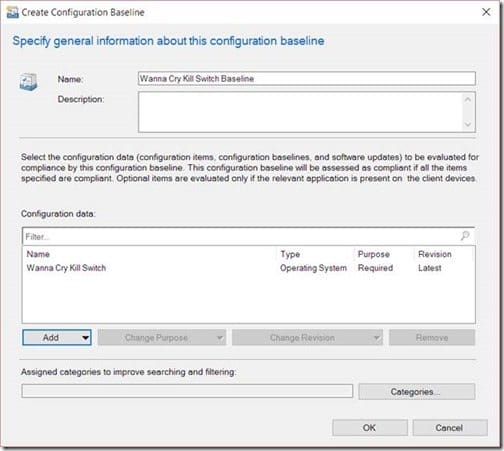
After that, click OK.
Deploying the Petya Baseline
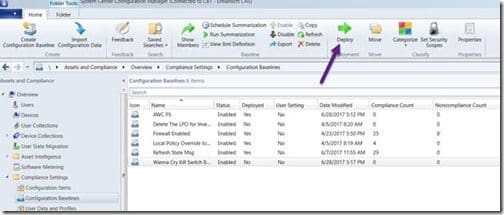
Make sure that your baseline is selected and click on the Deploy button.
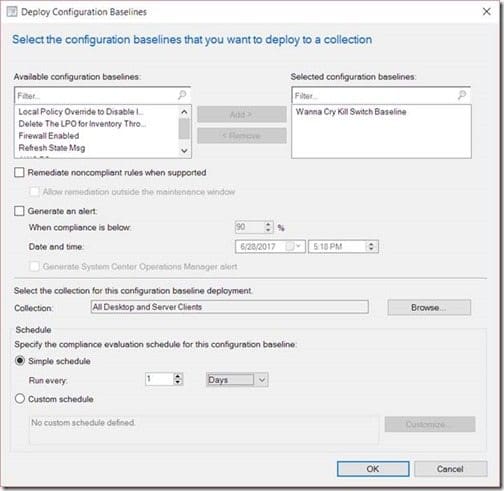
Click on the Browse button in order to select a collection. Afterwards, change the Simple schedule to run every 1 Days. Once that is completed click on OK.
Forcing a Machine Polices to Run
With that your client will evaluate this CI once they receive the policy. By default this will happen every 60 minutes.
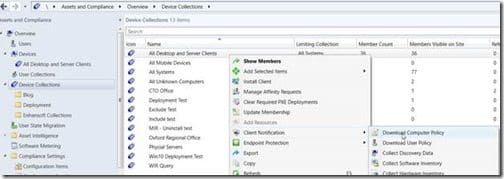
You can hurry-up the process by using Download Computer Policy. First, select a collection, click on Client Notifications and then click on Download Computer Policy.
Will this stop computers from being infected? I really don’t know, but based on what I read, it should help, so in my opinion it certainly can’t hurt!
There’s one last question that I should answer. How can you clean-up the $win\perfc. file? Simply use the same PowerShell script and adjust the logic to delete the file. Don’t forget to change the compliance setting too.
Don’t forget that you can subscribe to my RRS feed to stay on top of the latest trips and tricks. Additionally, I hope that you find this blog post useful and if you have any questions, please feel free to contact me @GarthMJ.

