Last updated on August 1st, 2022 at 03:23 pm
Continuing on from my last blog post about how to install an Android 5.1 RC1 VM, I will now take you through the configuring an Android process.
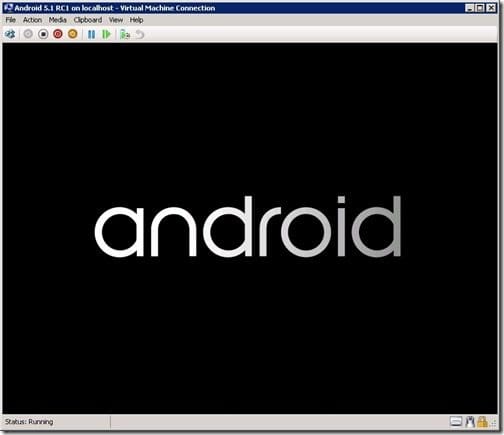
1. As soon as you boot, you will see the Android logo.
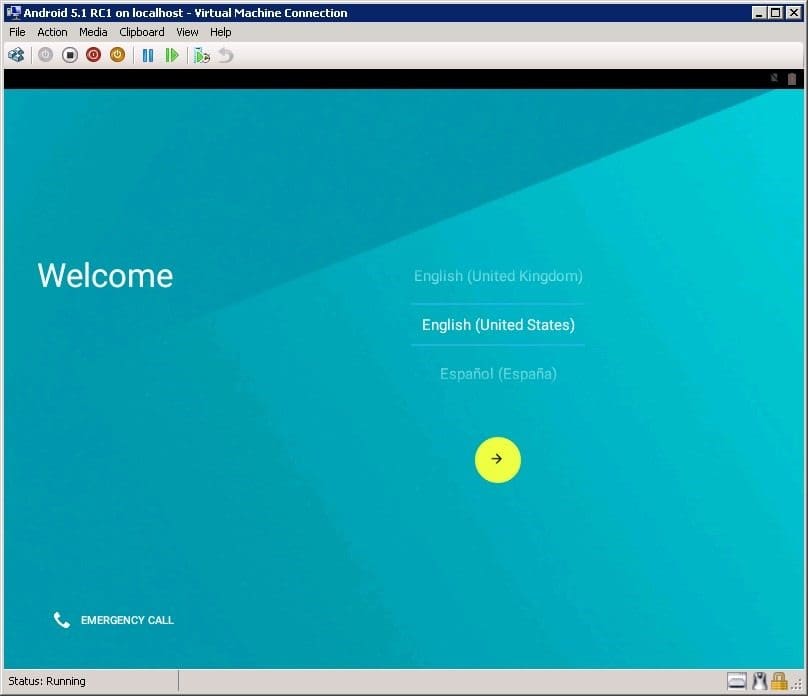
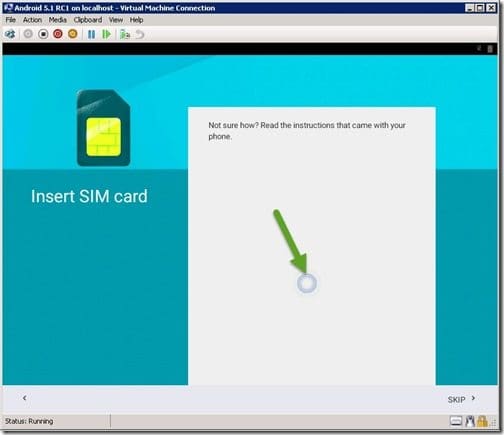
2. Click Next (yellow arrow). Watch out for the mouse/touch pointer within the VM because it is a bit awkward to use in 5.1. I hope they fix this in Android 6.0, but I haven’t seen any news on when it will be released for x86.
3. You can see the mouse location in the screenshot above (green arrow). Drag the mouse/touch pointer to the SKIP button. Then click SKIP.
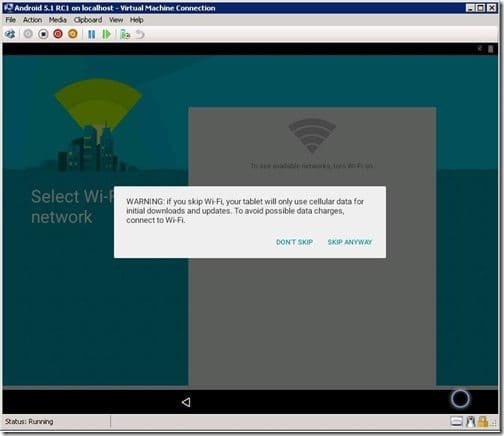
4. On the WIFI page click SKIP and then click the SKIP ANYWAY button.
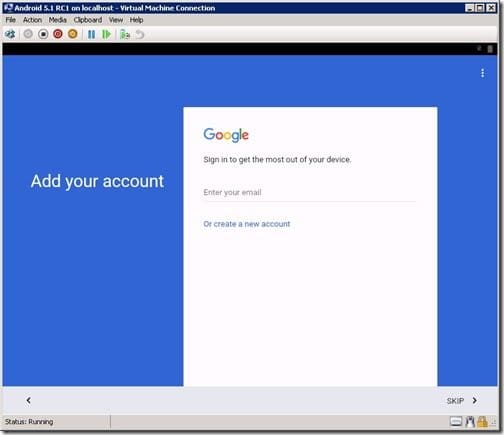
5. Enter your account details.
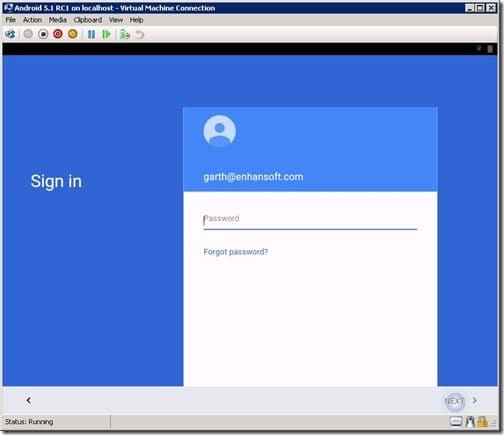
6. Enter your Password.
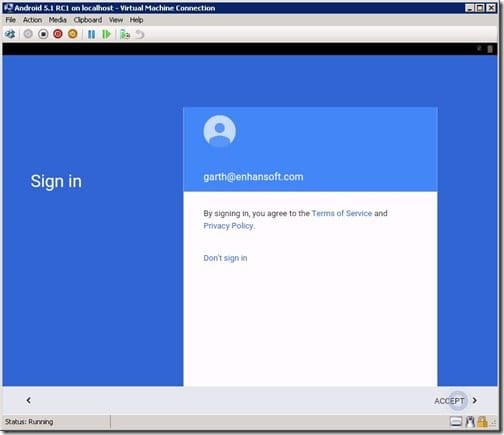
7. Click ACCEPT.
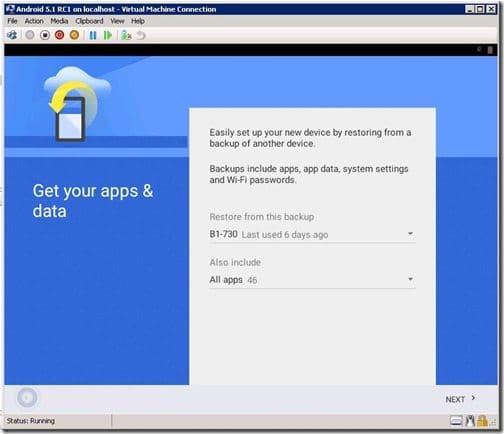
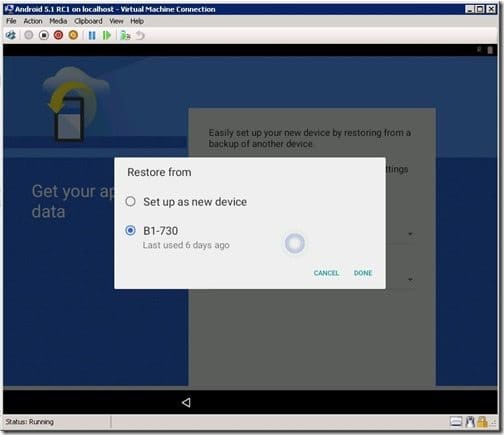
8. I will not restore the data from my test Android device, so I clicked on the down arrow to select a new device.
9. Select Set up as new device and then click DONE.
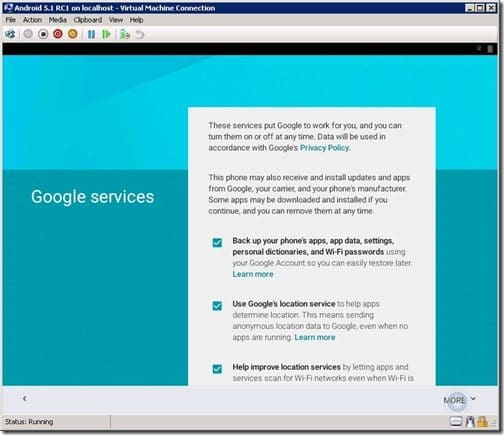
10. Click NEXT.
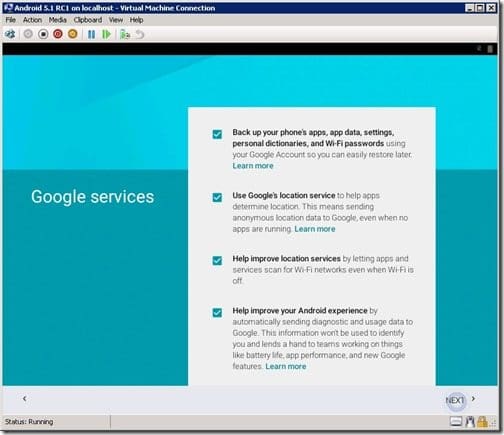
11. Click on the MORE button.
12. Click NEXT.
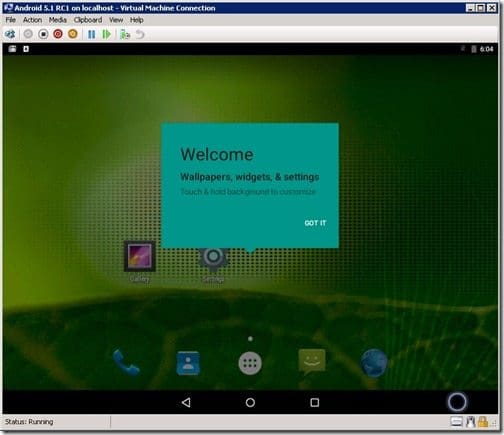
13. Click GOT IT.
With that last step you’re done! You now have an Android 5.1 RC VM.
Tip: There is no need to turn off the screensaver in this version, it is already done for you.
If you have any questions about configuring an Android 5.1 RC1 VM, please contact me @GarthMJ or leave a note for me below.

