Last updated on July 29th, 2022 at 08:31 pm
You finally setup your Android VM! Congratulations! Here are a few tips that I found useful and I think that you will too.
Turn Off the Screensaver
I know this one might seem like a dumb tip, but seriously, this one will save you from a lot of frustration. Why? If you don’t turn off the screensaver your Android VM will go to sleep. The problem isn’t that it’s gone to sleep, but trying to wake it up again! Despite numerous attempts, I usually end up turning off the VM and then re-starting it. If you turn off the screensaver to begin with, your Android VM will never sleep and therefore you will never have the problem of waking it!
There is a slight downside to turning off the screensaver:
1. It will use CPU cycles on your Hyper-V server. In my opinion this is not a big deal as I turn off my Android VM when I’m not using it.
2. When it is running, anyone who has access to the Hyper-V server can access this VM and “play” with it. Again, in my opinion, this is not a big deal because when I setup the VM, I didn’t put in any payment details. Therefore I can’t receive any unwanted charges to my Google account. With this setup, the worse anyone can do is add free software to my Android VM!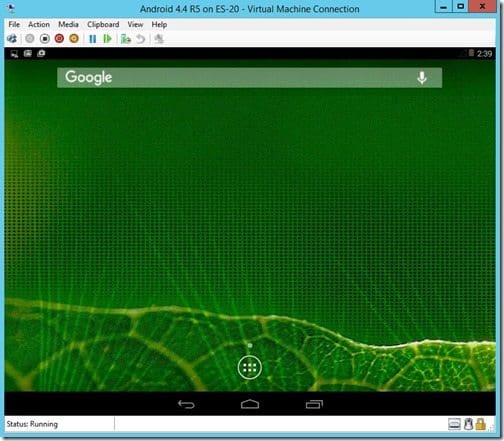
In order to turn off the screensaver, start from the Android desktop.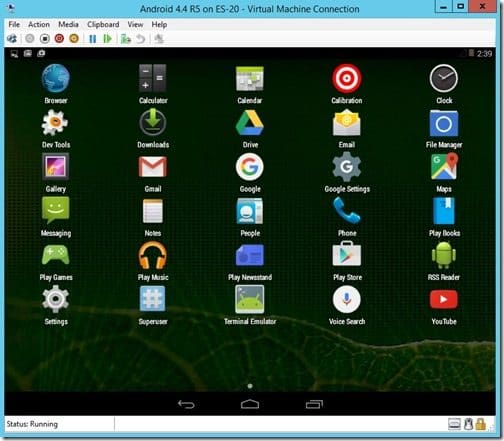
Next, select the Settings icon.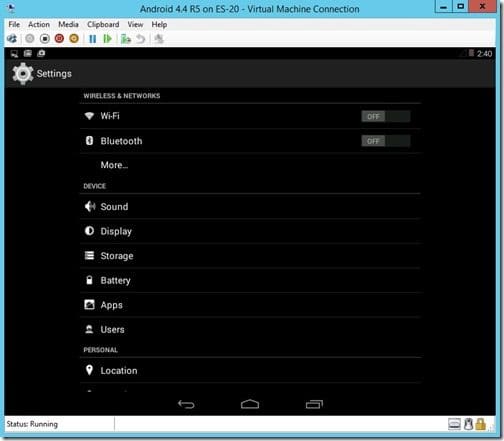
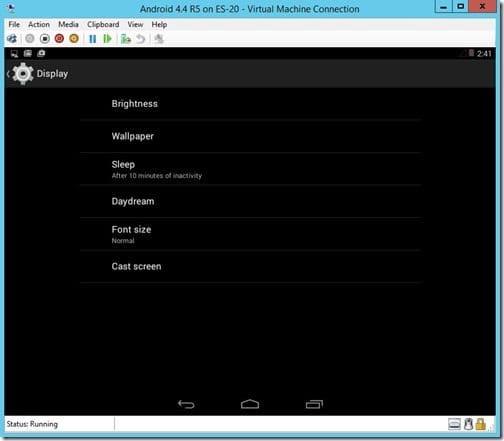
Likewise, select the Sleep link.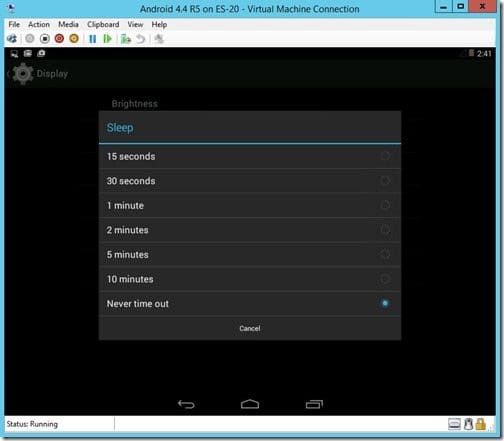
Select the Never time out option. After this selection, you will be returned to the Display menu.
Installing Updates to Your Android 4.4 R5 VM.
It’s always a good idea to make sure that you have the latest updates for each application and for your Android VM too.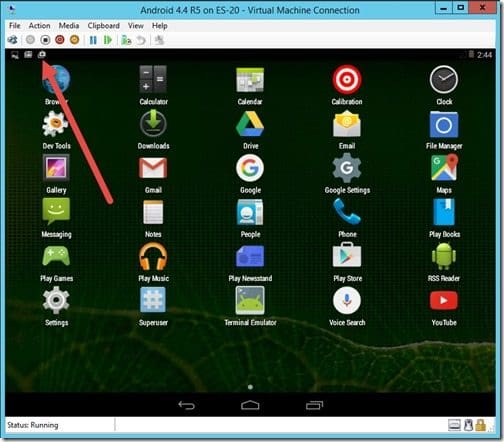
Select and pull down the notification area (red arrow).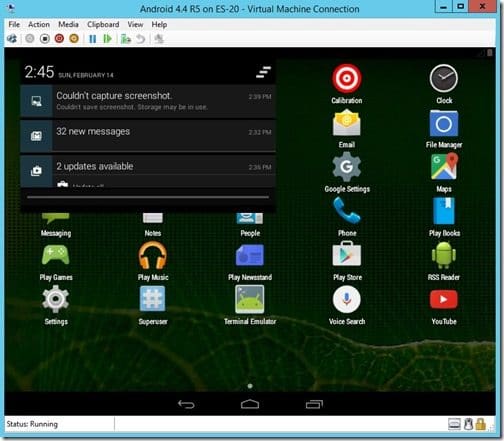
Afterwards, select the updates available link.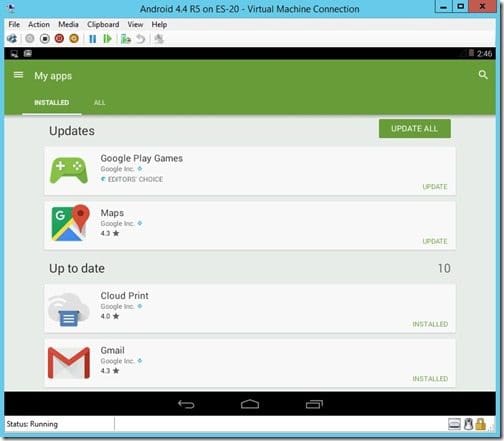
Again, select the UPDATE ALL button.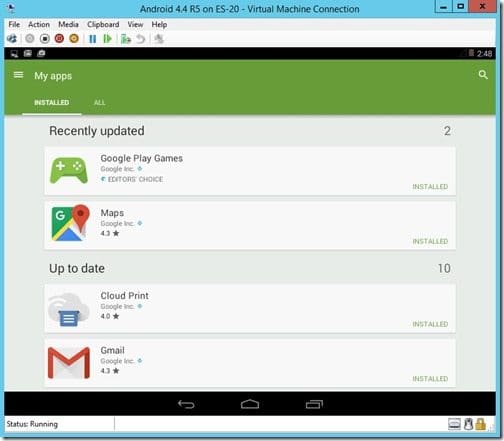
After a few minutes the updates will be installed.
Adding Boot Logon PIN
In the first tip I recommend that you turn off the screensaver, however, you might want a security PIN for when you turn on the Android VM. This will prevent anyone from accessing the VM once you turn it off.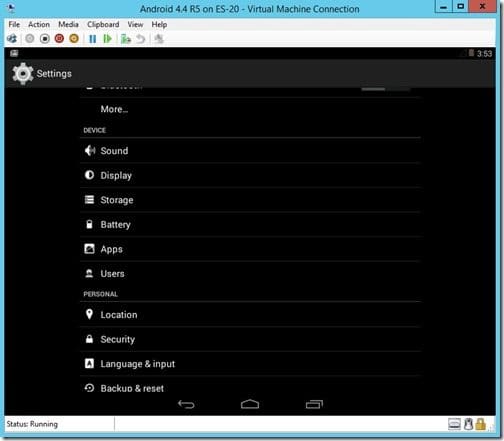
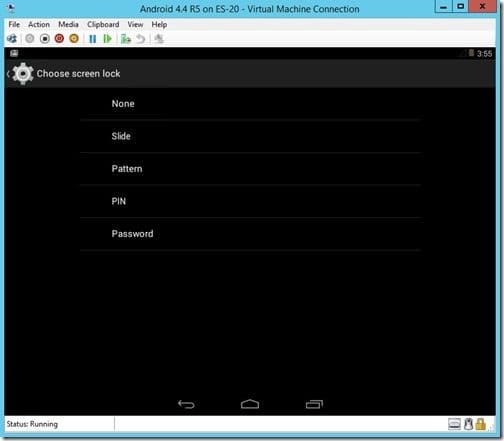
To do this go to the Settings window and scroll down to the PERSONAL section, and then click on the Security link.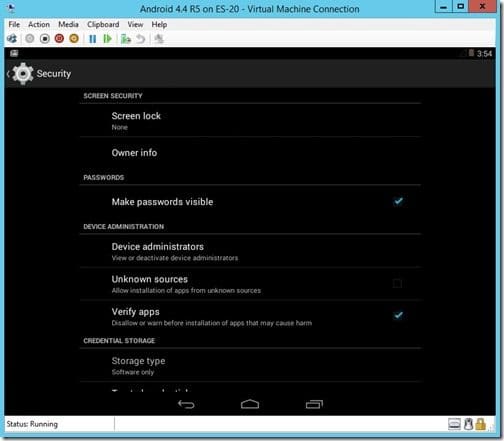
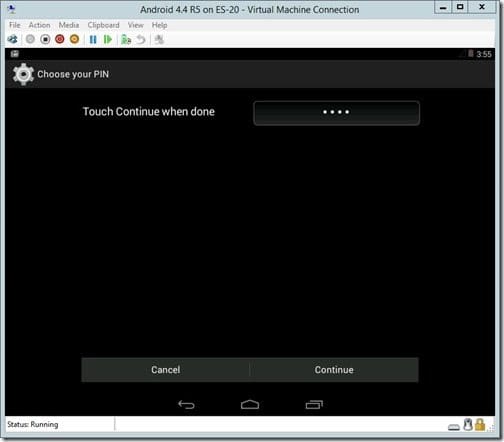
Type in your PIN, and then click on Continue.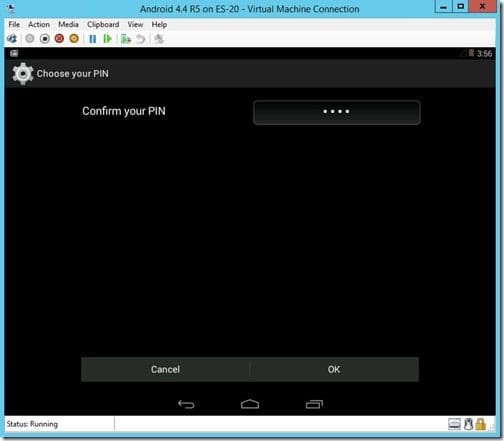
Confirm your PIN and click OK.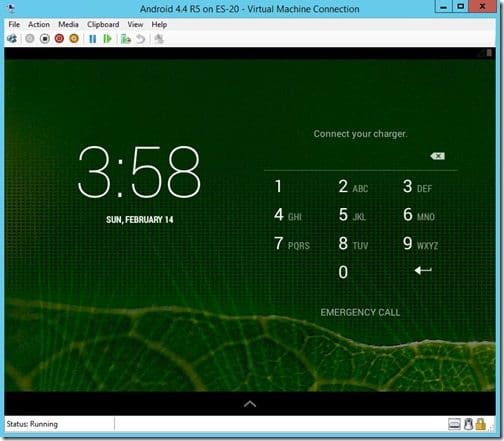
Now that the PIN is confirmed, the next time you boot the VM, you will be required to type it in before you can access the desktop.

