Last updated on July 23rd, 2022 at 12:41 pm
There’s a long story about why I had to recover my Central Administration Site (CAS), but I’ll save you the trouble of hearing about it! The short story involves me helping a customer setup the SQL Server replication of their CAS database. I helped them with this because they wanted to off-load reporting for end-users and, more importantly, third party applications. This article will answer How to Recover a CAS using a Primary Site Server.
It quickly became clear to me that the SQL Server replication of their CAS database was not going to work, and removing the SQL Server database replication from my lab, I believe, ultimately caused my CAS issue.
If you find yourself in a similar situation, having to remove a SQL Server database replication, the problem with your CAS will not become evident right away, particularly if you’re not looking for it.
Anyways, I tried using the Replication Link Analyzer several times to fix this problem from both the CAS and the primary site server. Unfortunately, it didn’t reset the database.
What was the best option for me? I came up with three scenarios:
1. Restore the CAS server and maybe the primary site server VMs back before the SQL Server database replication was enabled.
2. Use the restore feature within ConfigMgr Current Branch to only restore the CAS using a primary site server as the source for key information.
3. Re-build the whole environment: CAS, primary site server, SSRS server, WSUS, etc.
Clearly option #3 is a lot of work and I avoided it at all costs. The choice was then between option #1 and #2. Both had their advantages and disadvantages, but ultimately I decided to go with option #2. I felt that option #2 was the safest bet, even though there was more work involved with it. I also felt that in case this option failed, I could still try option #1.
Since a primary site server will host all of the key information needed to restore a CAS, you can use it to ensure that you have the current details. As such, I will reuse my CAS server to prepare for option #2. I stopped the ConfigMgr Current Branch service and deleted the CAS database. Once that was done, I followed the steps below in order to restore my CAS server.
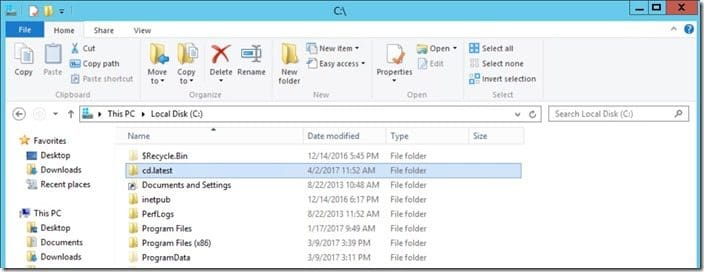
Start by ensuring that you copy the CD.Latest folder. It’s found under the ConfigMgr Current Branch install directory to C:\. Within the CD.Latest folder, launch splash.hta.
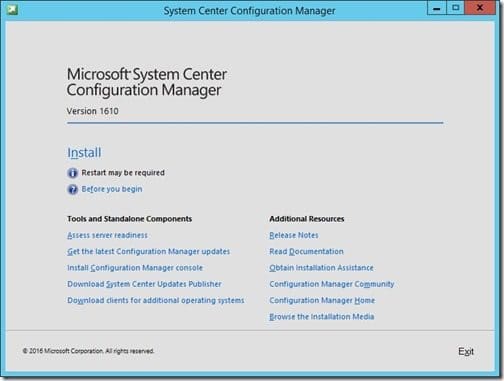
Click Install.
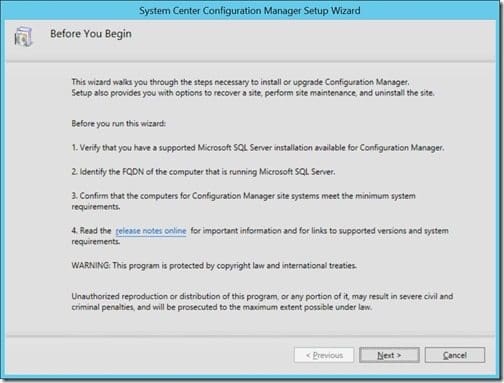
Click Next.
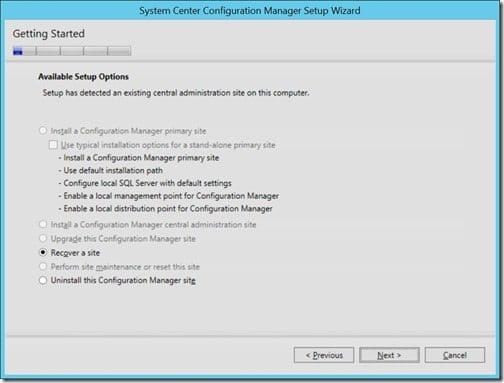
Once again, click Next.
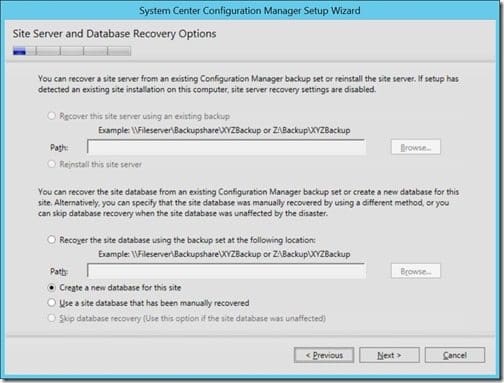
Select Create a new database for this site and then click on the Next button.
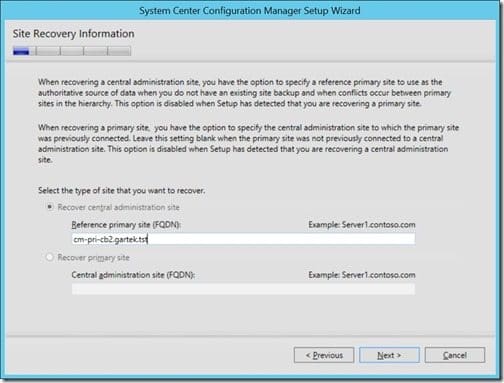
Enter in the primary site server’s name and click Next. In my case, the server’s name is cm-pri-cb2.gartek.tst.
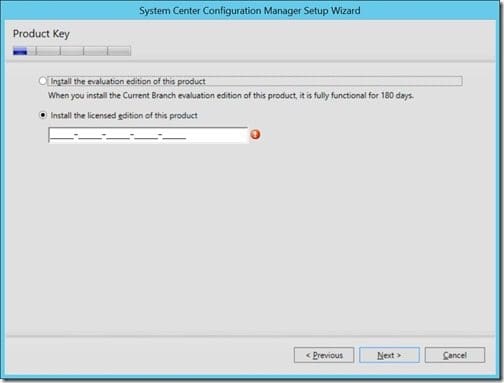
Enter in your license key details and then click on the Next button.
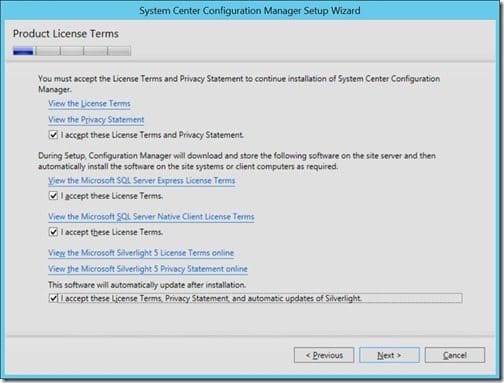
Accept the Product License Terms for all four products and then click Next.
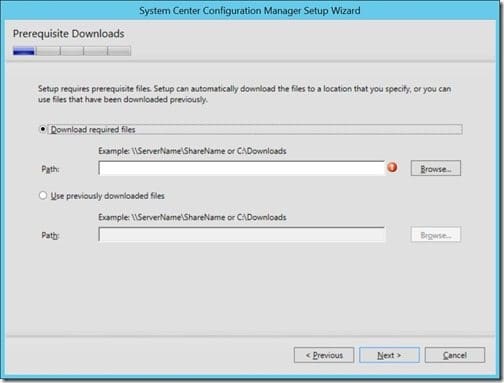
Click Browse…
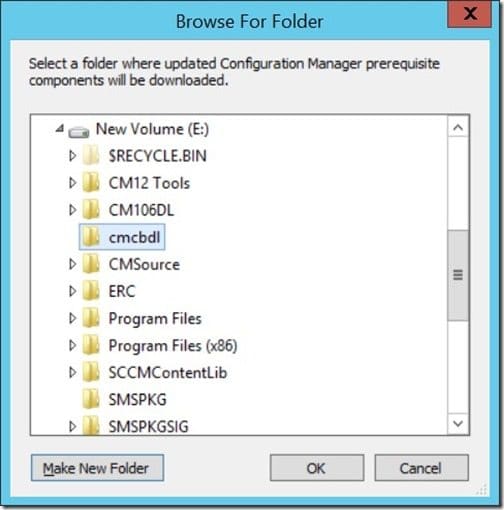
I created a folder called cmcbdl to hold all of the download files, so at this step I selected that folder and then clicked on the OK button.
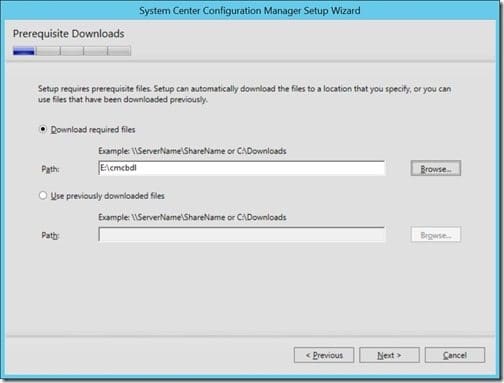
Click Next.
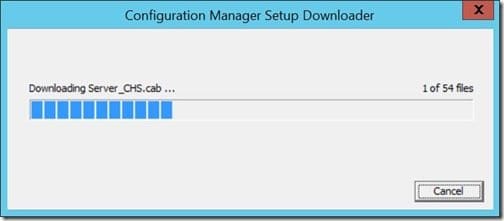
Wait for the files to download.
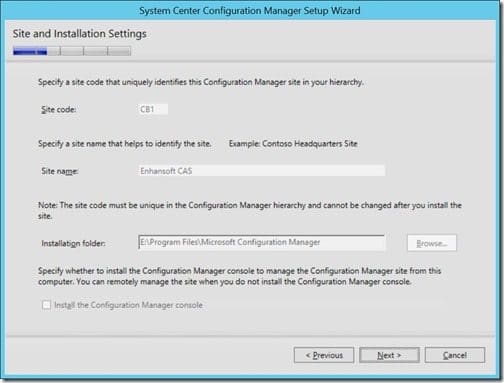
Notice that you can’t change any options in this window, so simply click Next.
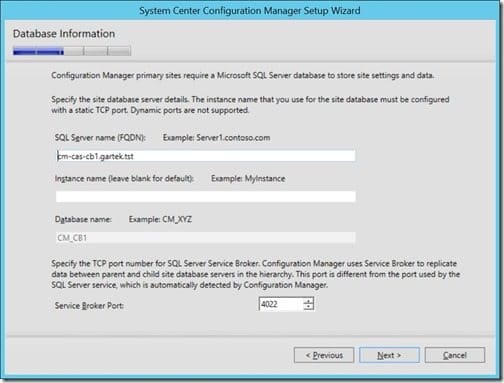
Click Next to keep the same options.
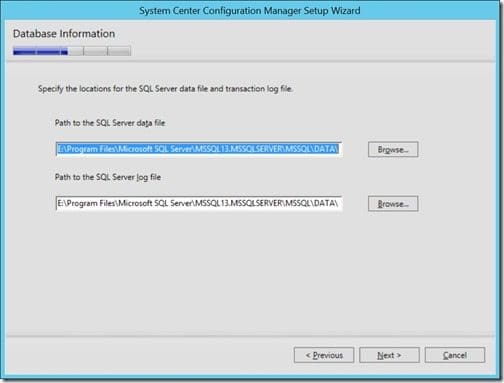
In my case, I will store my database files on the E:\ drive within the SQL Server data folder, so I will keep the file locations and click Next to continue.
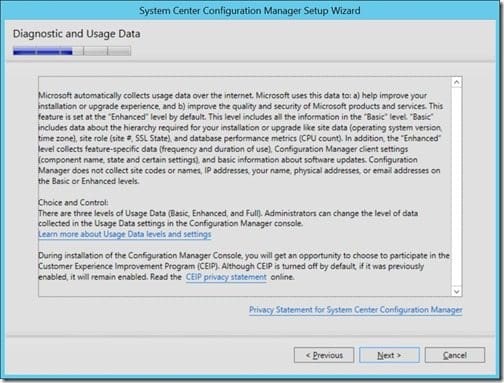
Click Next.
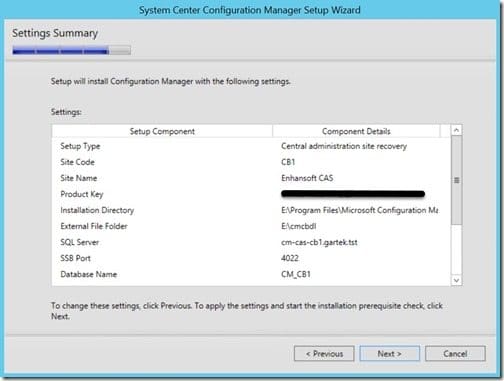
Again, click Next to apply the settings and start the installation prerequisite check.
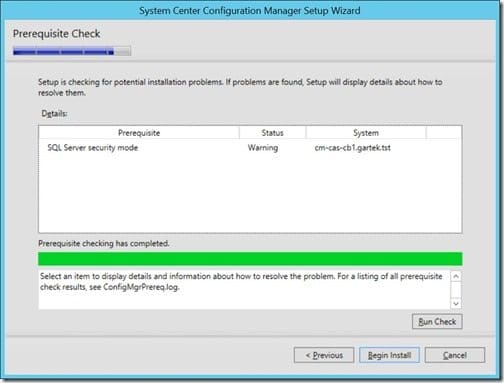
Once again, click on the Begin Install button.
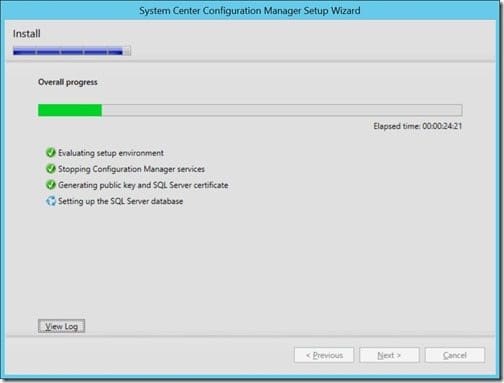
Wait as this will take a while; in my case about 90-minutes.
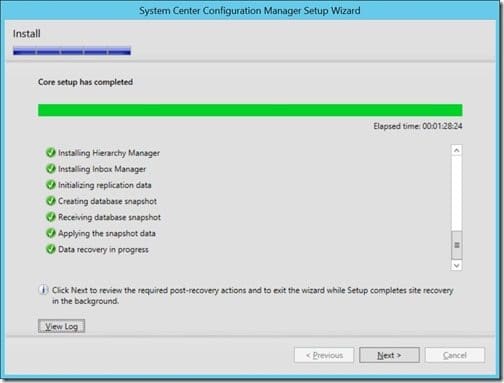
Click Next.
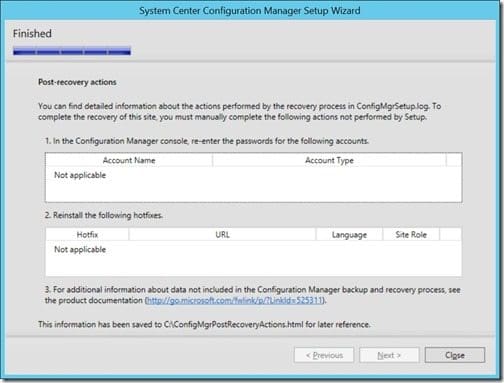
I then clicked on the Close button because I didn’t have any post-recovery actions. Since this was a successful recovery, option #1 was no longer needed!
At this point, I recommend that you test your CAS to ensure that everything is working correctly. Also don’t forget to delete the CD.Latest folder that you copied earlier. There is no point in keeping it around.
Here are some of my test procedures that I used to confirm that the CAS worked correctly:
- Configuration Manager Health Checklist
- How to Test Your MP to Confirm If It Is Healthy
- Configuration Manager Deployment Test #1
- Configuration Manager Deployment Test #2
- Configuration Manager Inventory Cycle Test Procedures
I can tell you that there were many more things that I tested, so when time permits, I will write them all up and share them with you.
If you have any questions, please feel free to contact me @GarthMJ.
