Last updated on July 29th, 2022 at 08:23 pm
I recently had the need to backup some files before upgrading a system to Windows 10. These files were going to be stored off-site and needed a place reside. What better way than to use a virtual hard disk to store them. Instead of making the VHD on a server, I knew I could create a standalone VHD in Windows 8.
Standalone VHD
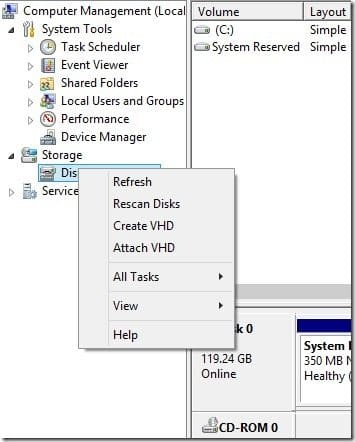
First, open Computer Management, then expand Storage and choose Disk Management. Right-click on Disk Management, and then select Create VHD.
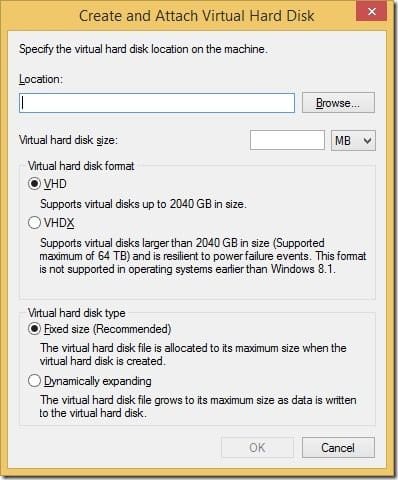
Next, specify a location to store the file and specify the size in MB or GB. Select whether it will be in VHD or VHDX format. Choose whether the disk type will be fixed size or dynamically expanding.
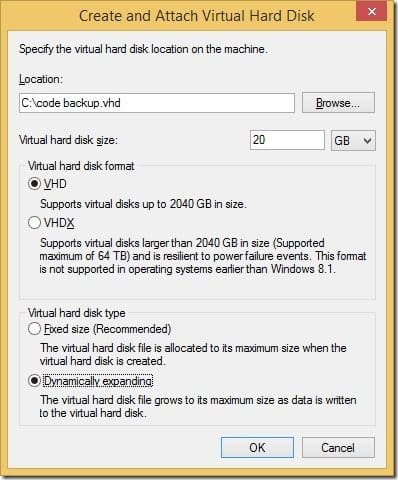
In my case, I specified the file to be saved on the root of C:\. The file size will be 20GB in a VHD format and the file type will be dynamically expanding.
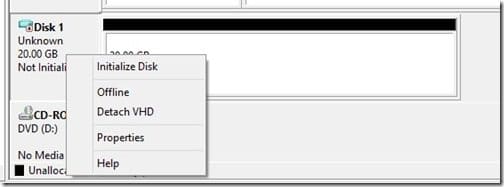
Once that is done, the new VHD will show up in Disk Management as an unknown disk. The new disk will need to be initialized. Right-click on the disk and choose Initialize Disk.
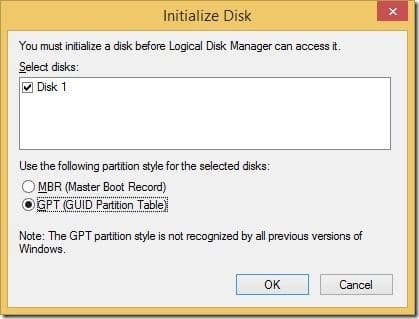
As the disk is 20GB, choose GPT.
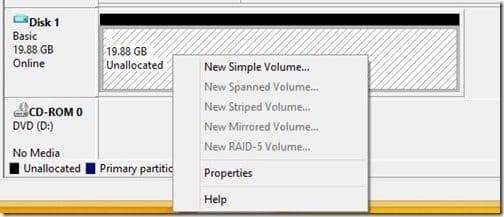
Now that the disk is initialized, you need to create the volume. Right-click on the unallocated space and choose New Simple Volume.
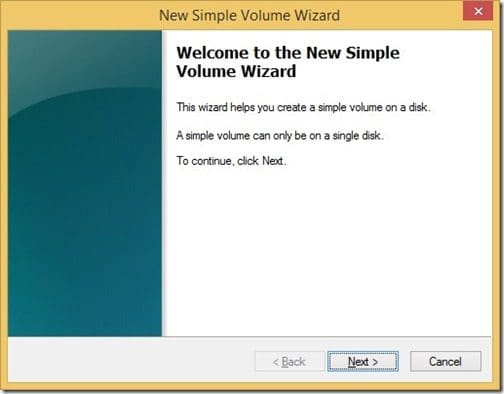
Click Next.
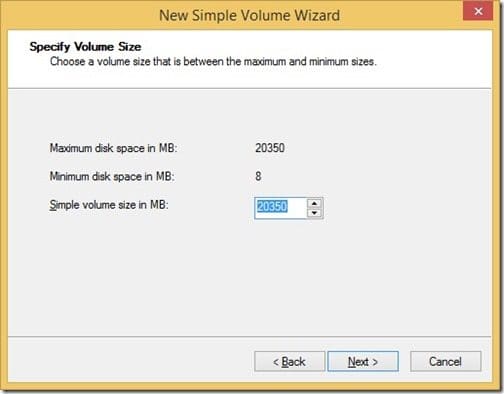
Click Next as the size is already filled in.
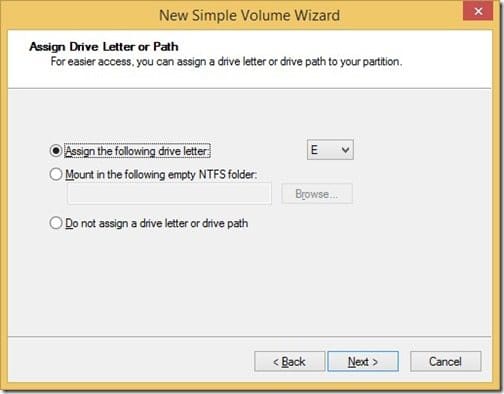
Assign a drive letter.
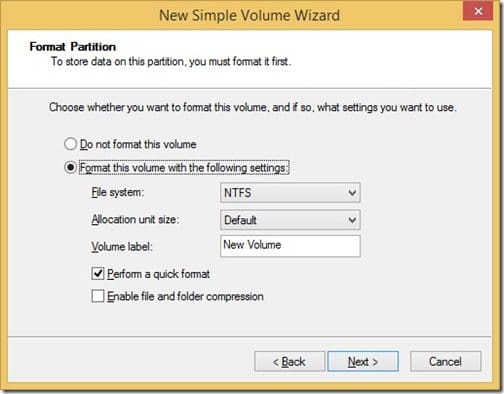
Accept the defaults.
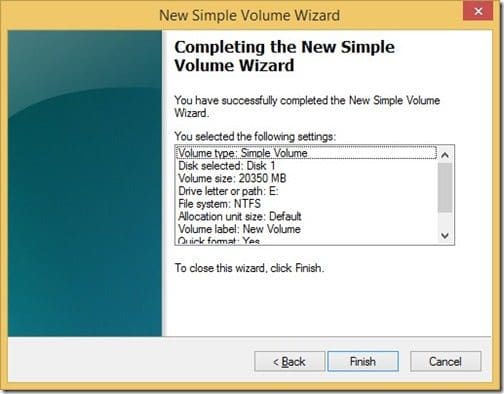
Click Finish.

You now have a brand new empty VHD that is already mounted!
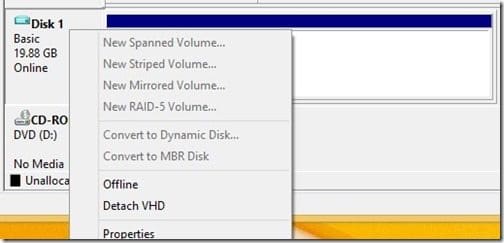
To unmount the VHD, right-click the disk and select Detach VHD.
Now that I have created the VHD, I can store my backup files in it. If necessary, I can even attach the VHD to a virtual machine.
If you have questions about how to create a standalone VHD, leave a note in the comment section below or @Enhansoft.
